SAS® Integration Technologies: Administrator's Guide (LDAP Version)
SAS® Integration Technologies: Administrator's Guide (LDAP Version)
SAS® Integration Technologies: Administrator's Guide (LDAP Version)

You also want an ePaper? Increase the reach of your titles
YUMPU automatically turns print PDFs into web optimized ePapers that Google loves.
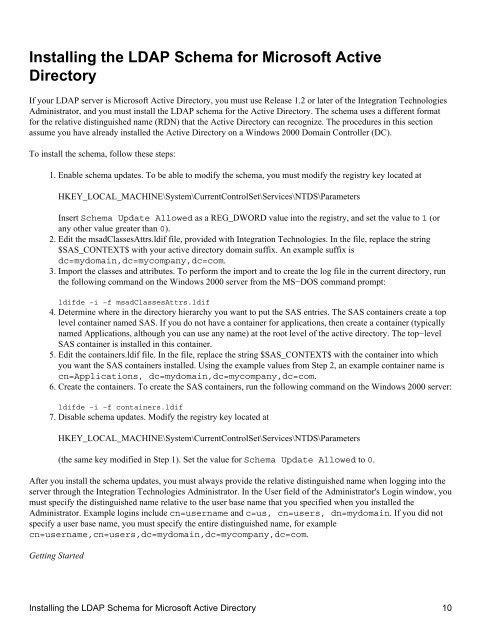
Installing the <strong>LDAP</strong> Schema for Microsoft Active<br />
Directory<br />
If your <strong>LDAP</strong> server is Microsoft Active Directory, you must use Release 1.2 or later of the <strong>Integration</strong> <strong>Technologies</strong><br />
Administrator, and you must install the <strong>LDAP</strong> schema for the Active Directory. The schema uses a different format<br />
for the relative distinguished name (RDN) that the Active Directory can recognize. The procedures in this section<br />
assume you have already installed the Active Directory on a Windows 2000 Domain Controller (DC).<br />
To install the schema, follow these steps:<br />
1. Enable schema updates. To be able to modify the schema, you must modify the registry key located at<br />
HKEY_LOCAL_MACHINE\System\CurrentControlSet\Services\NTDS\Parameters<br />
Insert Schema Update Allowed as a REG_DWORD value into the registry, and set the value to 1 (or<br />
any other value greater than 0).<br />
2. Edit the msadClassesAttrs.ldif file, provided with <strong>Integration</strong> <strong>Technologies</strong>. In the file, replace the string<br />
$SAS_CONTEXT$ with your active directory domain suffix. An example suffix is<br />
dc=mydomain,dc=mycompany,dc=com.<br />
3. Import the classes and attributes. To perform the import and to create the log file in the current directory, run<br />
the following command on the Windows 2000 server from the MS−DOS command prompt:<br />
ldifde −i −f msadClassesAttrs.ldif<br />
4. Determine where in the directory hierarchy you want to put the SAS entries. The SAS containers create a top<br />
level container named SAS. If you do not have a container for applications, then create a container (typically<br />
named Applications, although you can use any name) at the root level of the active directory. The top−level<br />
SAS container is installed in this container.<br />
5. Edit the containers.ldif file. In the file, replace the string $SAS_CONTEXT$ with the container into which<br />
you want the SAS containers installed. Using the example values from Step 2, an example container name is<br />
cn=Applications, dc=mydomain,dc=mycompany,dc=com.<br />
6. Create the containers. To create the SAS containers, run the following command on the Windows 2000 server:<br />
ldifde −i −f containers.ldif<br />
7. Disable schema updates. Modify the registry key located at<br />
HKEY_LOCAL_MACHINE\System\CurrentControlSet\Services\NTDS\Parameters<br />
(the same key modified in Step 1). Set the value for Schema Update Allowed to 0.<br />
After you install the schema updates, you must always provide the relative distinguished name when logging into the<br />
server through the <strong>Integration</strong> <strong>Technologies</strong> Administrator. In the User field of the <strong>Administrator's</strong> Login window, you<br />
must specify the distinguished name relative to the user base name that you specified when you installed the<br />
Administrator. Example logins include cn=username and c=us, cn=users, dn=mydomain. If you did not<br />
specify a user base name, you must specify the entire distinguished name, for example<br />
cn=username,cn=users,dc=mydomain,dc=mycompany,dc=com.<br />
Getting Started<br />
Installing the <strong>LDAP</strong> Schema for Microsoft Active Directory 10