CLM HD8 - Projector Central
CLM HD8 - Projector Central
CLM HD8 - Projector Central

Create successful ePaper yourself
Turn your PDF publications into a flip-book with our unique Google optimized e-Paper software.
12. Alignment menu<br />
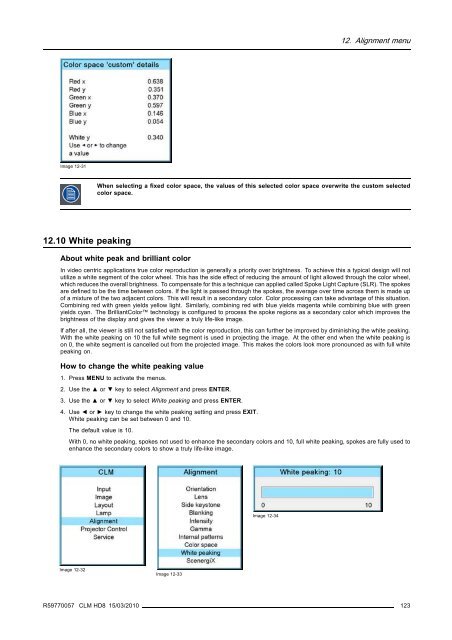
Image 12-31<br />
When selecting a fixed color space, the values of this selected color space overwrite the custom selected<br />
color space.<br />
12.10 White peaking<br />
About white peak and brilliant color<br />
In video centric applications true color reproduction is generally a priority over brightness. To achieve this a typical design will not<br />
utilize a white segment of the color wheel. This has the side effect of reducing the amount of light allowed through the color wheel,<br />
which reduces the overall brightness. To compensate for this a technique can applied called Spoke Light Capture (SLR). The spokes<br />
are defined to be the time between colors. If the light is passed through the spokes, the average over time across them is made up<br />
of a mixture of the two adjacent colors. This will result in a secondary color. Color processing can take advantage of this situation.<br />
Combining red with green yields yellow light. Similarly, combining red with blue yields magenta while combining blue with green<br />
yields cyan. The BrilliantColor technology is configured to process the spoke regions as a secondary color which improves the<br />
brightness of the display and gives the viewer a truly life-like image.<br />
If after all, the viewer is still not satisfied with the color reproduction, this can further be improved by diminishing the white peaking.<br />
With the white peaking on 10 the full white segment is used in projecting the image. At the other end when the white peaking is<br />
on 0, the white segment is cancelled out from the projected image. This makes the colors look more pronounced as with full white<br />
peaking on.<br />
How to change the white peaking value<br />
1. Press MENU to activate the menus.<br />
2. Use the ▲ or ▼ key to select Alignment and press ENTER.<br />
3. Use the ▲ or ▼ key to select White peaking and press ENTER.<br />
4. Use ◄ or ► key to change the white peaking setting and press EXIT.<br />
White peaking can be set between 0 and 10.<br />
The default value is 10.<br />
With 0, no white peaking, spokes not used to enhance the secondary colors and 10, full white peaking, spokes are fully used to<br />
enhance the secondary colors to show a truly life-like image.<br />
Image 12-34<br />
Image 12-32<br />
Image 12-33<br />
R59770057 <strong>CLM</strong> <strong>HD8</strong> 15/03/2010 123