ClientBase Overview Database Administrators
ClientBase Overview Database Administrators
ClientBase Overview Database Administrators

Create successful ePaper yourself
Turn your PDF publications into a flip-book with our unique Google optimized e-Paper software.
<strong>ClientBase</strong> <strong>Overview</strong> for <strong>Administrators</strong><br />
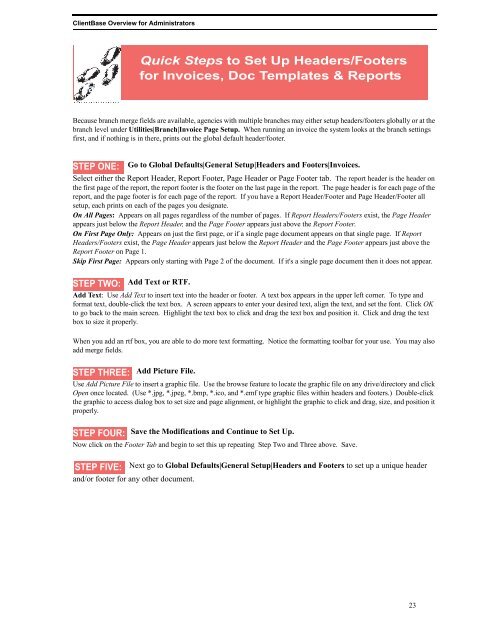
Quick Steps to Set Up Headers/Footers<br />
for Invoices, Doc Templates & Reports<br />
Because branch merge fields are available, agencies with multiple branches may either setup headers/footers globally or at the<br />
branch level under Utilities|Branch|Invoice Page Setup. When running an invoice the system looks at the branch settings<br />
first, and if nothing is in there, prints out the global default header/footer.<br />
STEP ONE: Go to Global Defaults|General Setup|Headers and Footers|Invoices.<br />
Select either the Report Header, Report Footer, Page Header or Page Footer tab. The report header is the header on<br />
the first page of the report, the report footer is the footer on the last page in the report. The page header is for each page of the<br />
report, and the page footer is for each page of the report. If you have a Report Header/Footer and Page Header/Footer all<br />
setup, each prints on each of the pages you designate.<br />
On All Pages: Appears on all pages regardless of the number of pages. If Report Headers/Footers exist, the Page Header<br />
appears just below the Report Header, and the Page Footer appears just above the Report Footer.<br />
On First Page Only: Appears on just the first page, or if a single page document appears on that single page. If Report<br />
Headers/Footers exist, the Page Header appears just below the Report Header and the Page Footer appears just above the<br />
Report Footer on Page 1.<br />
Skip First Page: Appears only starting with Page 2 of the document. If it's a single page document then it does not appear.<br />
STEP TWO:<br />
Add Text or RTF.<br />
Add Text: Use Add Text to insert text into the header or footer. A text box appears in the upper left corner. To type and<br />
format text, double-click the text box. A screen appears to enter your desired text, align the text, and set the font. Click OK<br />
to go back to the main screen. Highlight the text box to click and drag the text box and position it. Click and drag the text<br />
box to size it properly.<br />
When you add an rtf box, you are able to do more text formatting. Notice the formatting toolbar for your use. You may also<br />
add merge fields.<br />
STEP THREE:<br />
Add Picture File.<br />
Use Add Picture File to insert a graphic file. Use the browse feature to locate the graphic file on any drive/directory and click<br />
Open once located. (Use *.jpg, *.jpeg, *.bmp, *.ico, and *.emf type graphic files within headers and footers.) Double-click<br />
the graphic to access dialog box to set size and page alignment, or highlight the graphic to click and drag, size, and position it<br />
properly.<br />
STEP FOUR:<br />
Save the Modifications and Continue to Set Up.<br />
Now click on the Footer Tab and begin to set this up repeating Step Two and Three above. Save.<br />
STEP FIVE: Next go to Global Defaults|General Setup|Headers and Footers to set up a unique header<br />
and/or footer for any other document.<br />
23