ClientBase Overview Database Administrators
ClientBase Overview Database Administrators
ClientBase Overview Database Administrators

You also want an ePaper? Increase the reach of your titles
YUMPU automatically turns print PDFs into web optimized ePapers that Google loves.
<strong>ClientBase</strong> <strong>Overview</strong> for <strong>Administrators</strong><br />
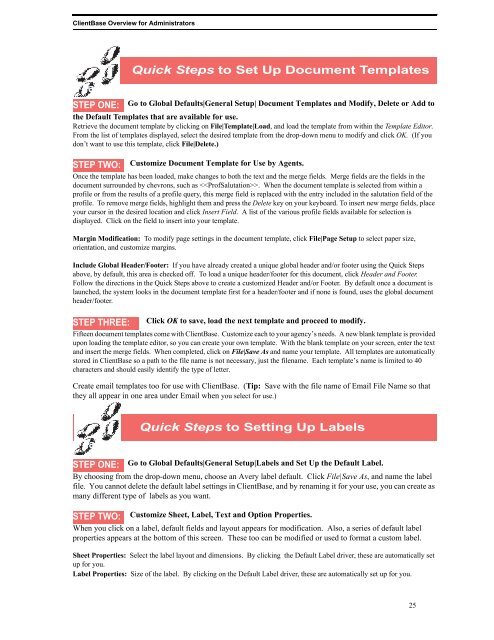
Quick Steps to Set Up Document Templates<br />
STEP ONE: Go to Global Defaults|General Setup| Document Templates and Modify, Delete or Add to<br />
the Default Templates that are available for use.<br />
Retrieve the document template by clicking on File|Template|Load, and load the template from within the Template Editor.<br />
From the list of templates displayed, select the desired template from the drop-down menu to modify and click OK. (If you<br />
don’t want to use this template, click File|Delete.)<br />
STEP TWO:<br />
Customize Document Template for Use by Agents.<br />
Once the template has been loaded, make changes to both the text and the merge fields. Merge fields are the fields in the<br />
document surrounded by chevrons, such as . When the document template is selected from within a<br />
profile or from the results of a profile query, this merge field is replaced with the entry included in the salutation field of the<br />
profile. To remove merge fields, highlight them and press the Delete key on your keyboard. To insert new merge fields, place<br />
your cursor in the desired location and click Insert Field. A list of the various profile fields available for selection is<br />
displayed. Click on the field to insert into your template.<br />
Margin Modification: To modify page settings in the document template, click File|Page Setup to select paper size,<br />
orientation, and customize margins.<br />
Include Global Header/Footer: If you have already created a unique global header and/or footer using the Quick Steps<br />
above, by default, this area is checked off. To load a unique header/footer for this document, click Header and Footer.<br />
Follow the directions in the Quick Steps above to create a customized Header and/or Footer. By default once a document is<br />
launched, the system looks in the document template first for a header/footer and if none is found, uses the global document<br />
header/footer.<br />
STEP THREE:<br />
Click OK to save, load the next template and proceed to modify.<br />
Fifteen document templates come with <strong>ClientBase</strong>. Customize each to your agency’s needs. A new blank template is provided<br />
upon loading the template editor, so you can create your own template. With the blank template on your screen, enter the text<br />
and insert the merge fields. When completed, click on File|Save As and name your template. All templates are automatically<br />
stored in <strong>ClientBase</strong> so a path to the file name is not necessary, just the filename. Each template’s name is limited to 40<br />
characters and should easily identify the type of letter.<br />
Create email templates too for use with <strong>ClientBase</strong>. (Tip: Save with the file name of Email File Name so that<br />
they all appear in one area under Email when you select for use.)<br />
Quick Steps to Setting Up Labels<br />
STEP ONE: Go to Global Defaults|General Setup|Labels and Set Up the Default Label.<br />
By choosing from the drop-down menu, choose an Avery label default. Click File|Save As, and name the label<br />
file. You cannot delete the default label settings in <strong>ClientBase</strong>, and by renaming it for your use, you can create as<br />
many different type of labels as you want.<br />
STEP TWO: Customize Sheet, Label, Text and Option Properties.<br />
When you click on a label, default fields and layout appears for modification. Also, a series of default label<br />
properties appears at the bottom of this screen. These too can be modified or used to format a custom label.<br />
Sheet Properties: Select the label layout and dimensions. By clicking the Default Label driver, these are automatically set<br />
up for you.<br />
Label Properties: Size of the label. By clicking on the Default Label driver, these are automatically set up for you.<br />
25