OPERATOR'S MANUAL - The Baker Company Blog
OPERATOR'S MANUAL - The Baker Company Blog
OPERATOR'S MANUAL - The Baker Company Blog
Create successful ePaper yourself
Turn your PDF publications into a flip-book with our unique Google optimized e-Paper software.
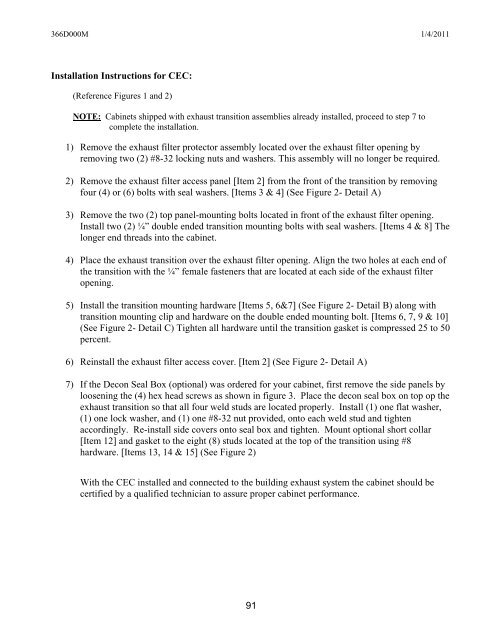
366D000M 1/4/2011Installation Instructions for CEC:(Reference Figures 1 and 2)NOTE: Cabinets shipped with exhaust transition assemblies already installed, proceed to step 7 tocomplete the installation.1) Remove the exhaust filter protector assembly located over the exhaust filter opening byremoving two (2) #8-32 locking nuts and washers. This assembly will no longer be required.2) Remove the exhaust filter access panel [Item 2] from the front of the transition by removingfour (4) or (6) bolts with seal washers. [Items 3 & 4] (See Figure 2- Detail A)3) Remove the two (2) top panel-mounting bolts located in front of the exhaust filter opening.Install two (2) ¼” double ended transition mounting bolts with seal washers. [Items 4 & 8] <strong>The</strong>longer end threads into the cabinet.4) Place the exhaust transition over the exhaust filter opening. Align the two holes at each end ofthe transition with the ¼” female fasteners that are located at each side of the exhaust filteropening.5) Install the transition mounting hardware [Items 5, 6&7] (See Figure 2- Detail B) along withtransition mounting clip and hardware on the double ended mounting bolt. [Items 6, 7, 9 & 10](See Figure 2- Detail C) Tighten all hardware until the transition gasket is compressed 25 to 50percent.6) Reinstall the exhaust filter access cover. [Item 2] (See Figure 2- Detail A)7) If the Decon Seal Box (optional) was ordered for your cabinet, first remove the side panels byloosening the (4) hex head screws as shown in figure 3. Place the decon seal box on top op theexhaust transition so that all four weld studs are located properly. Install (1) one flat washer,(1) one lock washer, and (1) one #8-32 nut provided, onto each weld stud and tightenaccordingly. Re-install side covers onto seal box and tighten. Mount optional short collar[Item 12] and gasket to the eight (8) studs located at the top of the transition using #8hardware. [Items 13, 14 & 15] (See Figure 2)With the CEC installed and connected to the building exhaust system the cabinet should becertified by a qualified technician to assure proper cabinet performance.91


