Microtek ScanWizard Pro User's Guide
Microtek ScanWizard Pro User's Guide
Microtek ScanWizard Pro User's Guide

You also want an ePaper? Increase the reach of your titles
YUMPU automatically turns print PDFs into web optimized ePapers that Google loves.
English<br />
How to Scan a Newspaper or Magazine Image<br />
1. Place the printer matter material to be scanned on<br />
your scanner.<br />
2. Go to the Preview window and click the Scan<br />
Material icon. From the submenu that appears,<br />
choose Reflective.<br />
3. Click the Overview button to start an overview, and<br />
you will see the image appear in your Preview<br />
window.<br />
4. Select the Scan Frame tool from the Toolbar in the<br />
Preview window, and choose the area to be scanned<br />
by dragging a rectangle (scan frame) around it. You<br />
will see a flashing frame (marquee) around the<br />
selected area.<br />
5. Move the pointer to the menu next to the Descreen<br />
tool in the Settings window. From the drop-down<br />
menu that appears, select your source material -whether<br />
the image being scanned is from a<br />
newspaper, magazine, or art magazine (higher-quality<br />
printing).<br />
NOTE: If you know the printed lpi (lines per inch)<br />
for the image, you may enter the exact number. You<br />
can measure the line screen by using a screen<br />
finder, which can be purchased from your local<br />
print shop.<br />
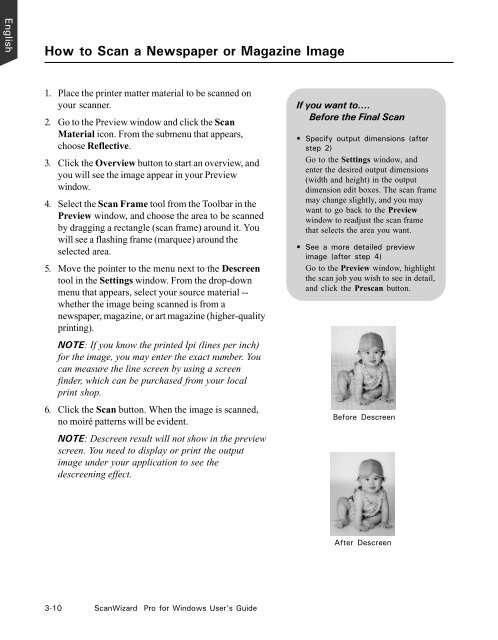
6. Click the Scan button. When the image is scanned,<br />
no moiré patterns will be evident.<br />
NOTE: Descreen result will not show in the preview<br />
screen. You need to display or print the output<br />
image under your application to see the<br />
descreening effect.<br />
3-10 <strong>ScanWizard</strong> <strong>Pro</strong> for Windows User’s <strong>Guide</strong><br />
If you want to....<br />
Before the Final Scan<br />
• Specify output dimensions (after<br />
step 2)<br />
Go to the Settings window, and<br />
enter the desired output dimensions<br />
(width and height) in the output<br />
dimension edit boxes. The scan frame<br />
may change slightly, and you may<br />
want to go back to the Preview<br />
window to readjust the scan frame<br />
that selects the area you want.<br />
• See a more detailed preview<br />
image (after step 4)<br />
Go to the Preview window, highlight<br />
the scan job you wish to see in detail,<br />
and click the Prescan button.<br />
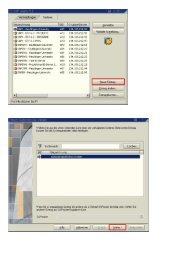
Before Descreen<br />
After Descreen