Microtek ScanWizard Pro User's Guide
Microtek ScanWizard Pro User's Guide
Microtek ScanWizard Pro User's Guide

You also want an ePaper? Increase the reach of your titles
YUMPU automatically turns print PDFs into web optimized ePapers that Google loves.
English<br />
Using the White & Black Points Tool<br />
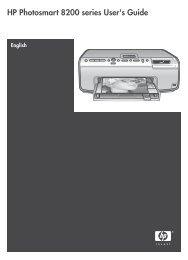
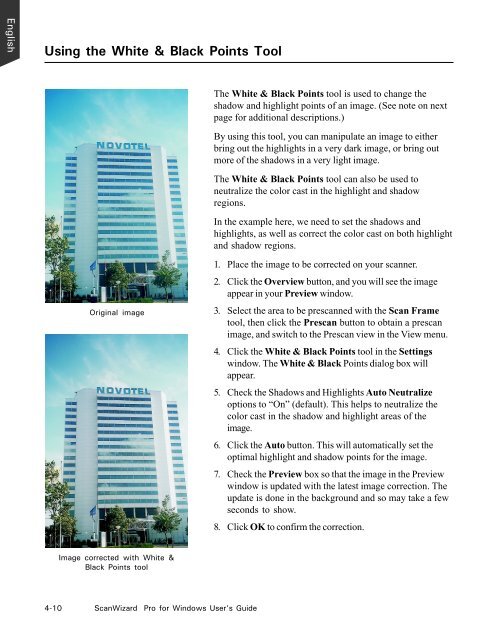
Original image<br />
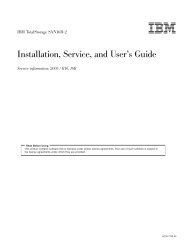
Image corrected with White &<br />
Black Points tool<br />
4-10 <strong>ScanWizard</strong> <strong>Pro</strong> for Windows User’s <strong>Guide</strong><br />
The White & Black Points tool is used to change the<br />
shadow and highlight points of an image. (See note on next<br />
page for additional descriptions.)<br />
By using this tool, you can manipulate an image to either<br />
bring out the highlights in a very dark image, or bring out<br />
more of the shadows in a very light image.<br />
The White & Black Points tool can also be used to<br />
neutralize the color cast in the highlight and shadow<br />
regions.<br />
In the example here, we need to set the shadows and<br />
highlights, as well as correct the color cast on both highlight<br />
and shadow regions.<br />
1. Place the image to be corrected on your scanner.<br />
2. Click the Overview button, and you will see the image<br />
appear in your Preview window.<br />
3. Select the area to be prescanned with the Scan Frame<br />
tool, then click the Prescan button to obtain a prescan<br />
image, and switch to the Prescan view in the View menu.<br />
4. Click the White & Black Points tool in the Settings<br />
window. The White & Black Points dialog box will<br />
appear.<br />
5. Check the Shadows and Highlights Auto Neutralize<br />
options to “On” (default). This helps to neutralize the<br />
color cast in the shadow and highlight areas of the<br />
image.<br />
6. Click the Auto button. This will automatically set the<br />
optimal highlight and shadow points for the image.<br />
7. Check the Preview box so that the image in the Preview<br />
window is updated with the latest image correction. The<br />
update is done in the background and so may take a few<br />
seconds to show.<br />
8. Click OK to confirm the correction.