Microtek ScanWizard Pro User's Guide
Microtek ScanWizard Pro User's Guide
Microtek ScanWizard Pro User's Guide

You also want an ePaper? Increase the reach of your titles
YUMPU automatically turns print PDFs into web optimized ePapers that Google loves.
English<br />
Using the Tone Curve Tool<br />
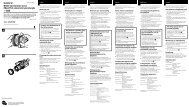
Original image<br />
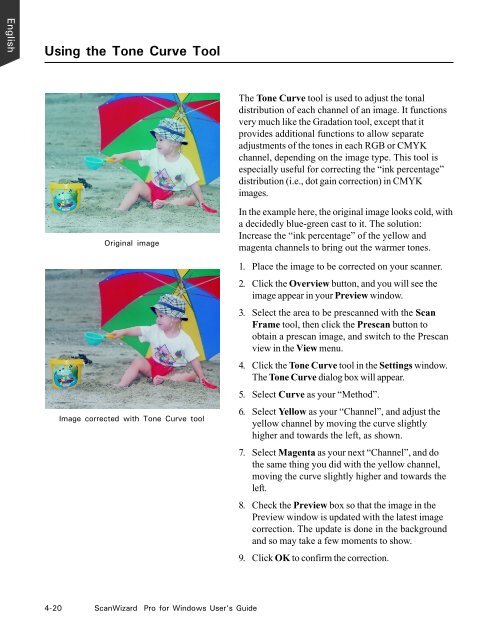
Image corrected with Tone Curve tool<br />
4-20 <strong>ScanWizard</strong> <strong>Pro</strong> for Windows User’s <strong>Guide</strong><br />
The Tone Curve tool is used to adjust the tonal<br />
distribution of each channel of an image. It functions<br />
very much like the Gradation tool, except that it<br />
provides additional functions to allow separate<br />
adjustments of the tones in each RGB or CMYK<br />
channel, depending on the image type. This tool is<br />
especially useful for correcting the “ink percentage”<br />
distribution (i.e., dot gain correction) in CMYK<br />
images.<br />
In the example here, the original image looks cold, with<br />
a decidedly blue-green cast to it. The solution:<br />
Increase the “ink percentage” of the yellow and<br />
magenta channels to bring out the warmer tones.<br />
1. Place the image to be corrected on your scanner.<br />
2. Click the Overview button, and you will see the<br />
image appear in your Preview window.<br />
3. Select the area to be prescanned with the Scan<br />
Frame tool, then click the Prescan button to<br />
obtain a prescan image, and switch to the Prescan<br />
view in the View menu.<br />
4. Click the Tone Curve tool in the Settings window.<br />
The Tone Curve dialog box will appear.<br />
5. Select Curve as your “Method”.<br />
6. Select Yellow as your “Channel”, and adjust the<br />
yellow channel by moving the curve slightly<br />
higher and towards the left, as shown.<br />
7. Select Magenta as your next “Channel”, and do<br />
the same thing you did with the yellow channel,<br />
moving the curve slightly higher and towards the<br />
left.<br />
8. Check the Preview box so that the image in the<br />
Preview window is updated with the latest image<br />
correction. The update is done in the background<br />
and so may take a few moments to show.<br />
9. Click OK to confirm the correction.