You also want an ePaper? Increase the reach of your titles
YUMPU automatically turns print PDFs into web optimized ePapers that Google loves.
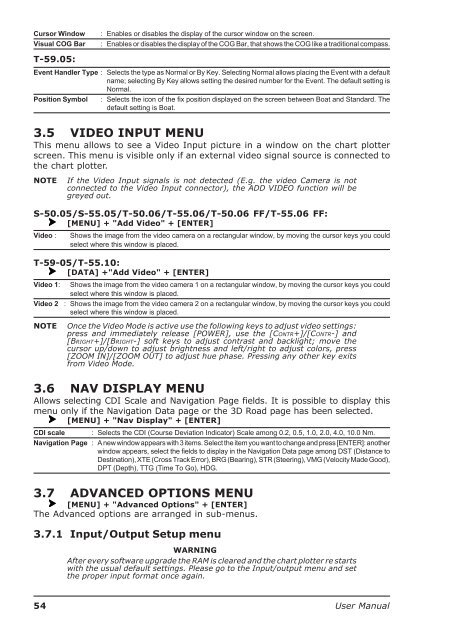
Cursor WindowVisual COG Bar: Enables or disables the display of the cursor window on the screen.: Enables or disables the display of the COG Bar, that shows the COG like a traditional compass.T-59.05:Event Handler Type : Selects the type as Normal or By Key. Selecting Normal allows placing the Event with a defaultname; selecting By Key allows setting the desired number for the Event. The default setting isNormal.Position Symbol : Selects the icon of the fix position displayed on the screen between Boat and Standard. Thedefault setting is Boat.3.5 VIDEO INPUT MENUThis menu allows to see a Video Input picture in a window on the chart plotterscreen. This menu is visible only if an external video signal source is connected tothe chart plotter.NOTEIf the Video Input signals is not detected (E.g. the video Camera is notconnected to the Video Input connector), the ADD VIDEO function will begreyed out.S-50.05/S-55.05/T-50.06/T-55.06/T-50.06 FF/T-55.06 FF:[MENU] + "Add Video" + [ENTER]Video :Shows the image from the video camera on a rectangular window, by moving the cursor keys you couldselect where this window is placed.T-59-05/T-55.10:[DATA] +"Add Video" + [ENTER]Video 1:Video 2Shows the image from the video camera 1 on a rectangular window, by moving the cursor keys you couldselect where this window is placed.: Shows the image from the video camera 2 on a rectangular window, by moving the cursor keys you couldselect where this window is placed.NOTEOnce the Video Mode is active use the following keys to adjust video settings:press and immediately release [POWER], use the [CONTR+]/[CONTR-] and[BRIGHT+]/[BRIGHT-] soft keys to adjust contrast and backlight; move thecursor up/down to adjust brightness and left/right to adjust colors, press[ZOOM IN]/[ZOOM OUT] to adjust hue phase. Pressing any other key exitsfrom Video Mode.3.6 NAV DISPLAY MENUAllows selecting CDI Scale and Navigation Page fields. It is possible to display thismenu only if the Navigation Data page or the 3D Road page has been selected.[MENU] + "Nav Display" + [ENTER]CDI scale : Selects the CDI (Course Deviation Indicator) Scale among 0.2, 0.5, 1.0, 2.0, 4.0, 10.0 Nm.Navigation Page : A new window appears with 3 items. Select the item you want to change and press [ENTER]: anotherwindow appears, select the fields to display in the Navigation Data page among DST (Distance toDestination), XTE (Cross Track Error), BRG (Bearing), STR (Steering), VMG (Velocity Made Good),DPT (Depth), TTG (Time To Go), HDG.3.7 ADVANCED OPTIONS MENU[MENU] + "Advanced Options" + [ENTER]The Advanced options are arranged in sub-menus.3.7.1 Input/Output Setup menuWARNINGAfter every software upgrade the RAM is cleared and the chart plotter re startswith the usual default settings. Please go to the Input/output menu and setthe proper input format once again.54 <strong>User</strong> <strong>Manual</strong>


