Melco Compilation

You also want an ePaper? Increase the reach of your titles
YUMPU automatically turns print PDFs into web optimized ePapers that Google loves.
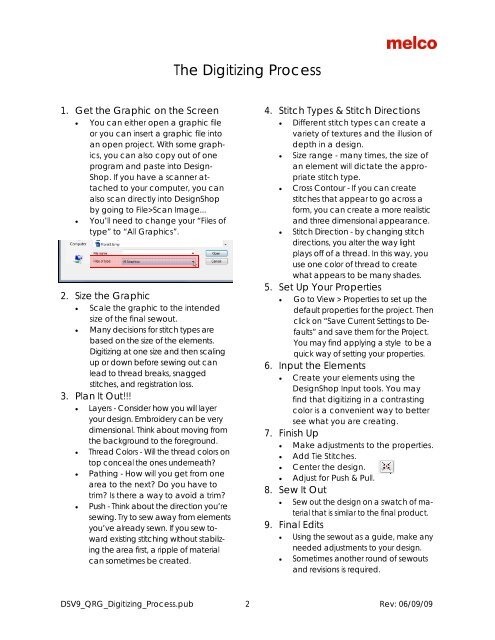
The Digitizing Process<br />
1. Get the Graphic on the Screen<br />
• You can either open a graphic file<br />
or you can insert a graphic file into<br />
an open project. With some graphics,<br />
you can also copy out of one<br />
program and paste into Design-<br />
Shop. If you have a scanner attached<br />
to your computer, you can<br />
also scan directly into DesignShop<br />
by going to File>Scan Image...<br />
• You’ll need to change your “Files of<br />
type” to “All Graphics”.<br />
2. Size the Graphic<br />
• Scale the graphic to the intended<br />
size of the final sewout.<br />
• Many decisions for stitch types are<br />
based on the size of the elements.<br />
Digitizing at one size and then scaling<br />
up or down before sewing out can<br />
lead to thread breaks, snagged<br />
stitches, and registration loss.<br />
3. Plan It Out!!!<br />
• Layers - Consider how you will layer<br />
your design. Embroidery can be very<br />
dimensional. Think about moving from<br />
the background to the foreground.<br />
• Thread Colors - Will the thread colors on<br />
top conceal the ones underneath?<br />
• Pathing - How will you get from one<br />
area to the next? Do you have to<br />
trim? Is there a way to avoid a trim?<br />
• Push - Think about the direction you’re<br />
sewing. Try to sew away from elements<br />
you’ve already sewn. If you sew toward<br />
existing stitching without stabilizing<br />
the area first, a ripple of material<br />
can sometimes be created.<br />
4. Stitch Types & Stitch Directions<br />
• Different stitch types can create a<br />
variety of textures and the illusion of<br />
depth in a design.<br />
• Size range - many times, the size of<br />
an element will dictate the appropriate<br />
stitch type.<br />
• Cross Contour - If you can create<br />
stitches that appear to go across a<br />
form, you can create a more realistic<br />
and three dimensional appearance.<br />
• Stitch Direction - by changing stitch<br />
directions, you alter the way light<br />
plays off of a thread. In this way, you<br />
use one color of thread to create<br />
what appears to be many shades.<br />
5. Set Up Your Properties<br />
• Go to View > Properties to set up the<br />
default properties for the project. Then<br />
click on “Save Current Settings to Defaults”<br />
and save them for the Project.<br />
You may find applying a style to be a<br />
quick way of setting your properties.<br />
6. Input the Elements<br />
• Create your elements using the<br />
DesignShop Input tools. You may<br />
find that digitizing in a contrasting<br />
color is a convenient way to better<br />
see what you are creating.<br />
7. Finish Up<br />
• Make adjustments to the properties.<br />
• Add Tie Stitches.<br />
• Center the design.<br />
• Adjust for Push & Pull.<br />
8. Sew It Out<br />
• Sew out the design on a swatch of material<br />
that is similar to the final product.<br />
9. Final Edits<br />
• Using the sewout as a guide, make any<br />
needed adjustments to your design.<br />
• Sometimes another round of sewouts<br />
and revisions is required.<br />
DSV9_QRG_Digitizing_Process.pub 2 Rev: 06/09/09