Melco Compilation

Create successful ePaper yourself
Turn your PDF publications into a flip-book with our unique Google optimized e-Paper software.
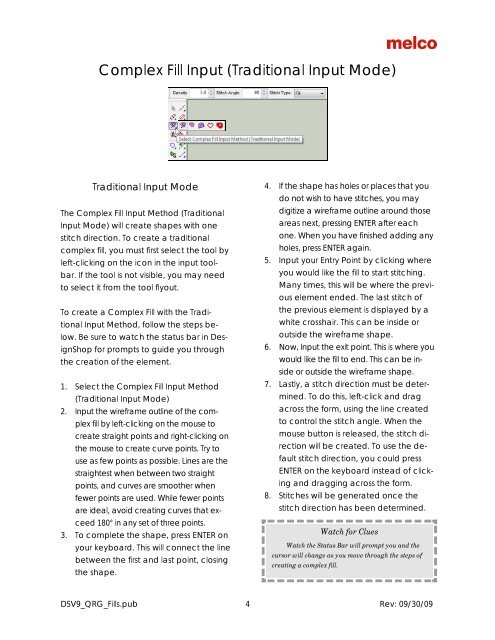
Complex Fill Input (Traditional Input Mode)<br />
Traditional Input Mode<br />
The Complex Fill Input Method (Traditional<br />
Input Mode) will create shapes with one<br />
stitch direction. To create a traditional<br />
complex fill, you must first select the tool by<br />
left-clicking on the icon in the input toolbar.<br />
If the tool is not visible, you may need<br />
to select it from the tool flyout.<br />
To create a Complex Fill with the Traditional<br />
Input Method, follow the steps below.<br />
Be sure to watch the status bar in DesignShop<br />
for prompts to guide you through<br />
the creation of the element.<br />
1. Select the Complex Fill Input Method<br />
(Traditional Input Mode)<br />
2. Input the wireframe outline of the complex<br />
fill by left-clicking on the mouse to<br />
create straight points and right-clicking on<br />
the mouse to create curve points. Try to<br />
use as few points as possible. Lines are the<br />
straightest when between two straight<br />
points, and curves are smoother when<br />
fewer points are used. While fewer points<br />
are ideal, avoid creating curves that exceed<br />
180° in any set of three points.<br />
3. To complete the shape, press ENTER on<br />
your keyboard. This will connect the line<br />
between the first and last point, closing<br />
the shape.<br />
4. If the shape has holes or places that you<br />
do not wish to have stitches, you may<br />
digitize a wireframe outline around those<br />
areas next, pressing ENTER after each<br />
one. When you have finished adding any<br />
holes, press ENTER again.<br />
5. Input your Entry Point by clicking where<br />
you would like the fill to start stitching.<br />
Many times, this will be where the previous<br />
element ended. The last stitch of<br />
the previous element is displayed by a<br />
white crosshair. This can be inside or<br />
outside the wireframe shape.<br />
6. Now, Input the exit point. This is where you<br />
would like the fill to end. This can be inside<br />
or outside the wireframe shape.<br />
7. Lastly, a stitch direction must be determined.<br />
To do this, left-click and drag<br />
across the form, using the line created<br />
to control the stitch angle. When the<br />
mouse button is released, the stitch direction<br />
will be created. To use the default<br />
stitch direction, you could press<br />
ENTER on the keyboard instead of clicking<br />
and dragging across the form.<br />
8. Stitches will be generated once the<br />
stitch direction has been determined.<br />
Watch for Clues<br />
Watch the Status Bar will prompt you and the<br />
cursor will change as you move through the steps of<br />
creating a complex fill.<br />
DSV9_QRG_Fills.pub 4 Rev: 09/30/09