Melco Compilation

You also want an ePaper? Increase the reach of your titles
YUMPU automatically turns print PDFs into web optimized ePapers that Google loves.
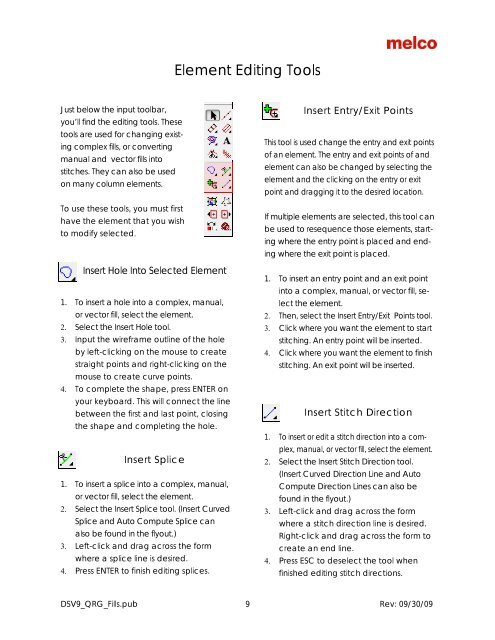
Element Editing Tools<br />
Just below the input toolbar,<br />
you’ll find the editing tools. These<br />
tools are used for changing existing<br />
complex fills, or converting<br />
manual and vector fills into<br />
stitches. They can also be used<br />
on many column elements.<br />
To use these tools, you must first<br />
have the element that you wish<br />
to modify selected.<br />
Insert Hole Into Selected Element<br />
1. To insert a hole into a complex, manual,<br />
or vector fill, select the element.<br />
2. Select the Insert Hole tool.<br />
3. Input the wireframe outline of the hole<br />
by left-clicking on the mouse to create<br />
straight points and right-clicking on the<br />
mouse to create curve points.<br />
4. To complete the shape, press ENTER on<br />
your keyboard. This will connect the line<br />
between the first and last point, closing<br />
the shape and completing the hole.<br />
Insert Splice<br />
1. To insert a splice into a complex, manual,<br />
or vector fill, select the element.<br />
2. Select the Insert Splice tool. (Insert Curved<br />
Splice and Auto Compute Splice can<br />
also be found in the flyout.)<br />
3. Left-click and drag across the form<br />
where a splice line is desired.<br />
4. Press ENTER to finish editing splices.<br />
Insert Entry/Exit Points<br />
This tool is used change the entry and exit points<br />
of an element. The entry and exit points of and<br />
element can also be changed by selecting the<br />
element and the clicking on the entry or exit<br />
point and dragging it to the desired location.<br />
If multiple elements are selected, this tool can<br />
be used to resequence those elements, starting<br />
where the entry point is placed and ending<br />
where the exit point is placed.<br />
1. To insert an entry point and an exit point<br />
into a complex, manual, or vector fill, select<br />
the element.<br />
2. Then, select the Insert Entry/Exit Points tool.<br />
3. Click where you want the element to start<br />
stitching. An entry point will be inserted.<br />
4. Click where you want the element to finish<br />
stitching. An exit point will be inserted.<br />
Insert Stitch Direction<br />
1. To insert or edit a stitch direction into a complex,<br />
manual, or vector fill, select the element.<br />
2. Select the Insert Stitch Direction tool.<br />
(Insert Curved Direction Line and Auto<br />
Compute Direction Lines can also be<br />
found in the flyout.)<br />
3. Left-click and drag across the form<br />
where a stitch direction line is desired.<br />
Right-click and drag across the form to<br />
create an end line.<br />
4. Press ESC to deselect the tool when<br />
finished editing stitch directions.<br />
DSV9_QRG_Fills.pub 9 Rev: 09/30/09