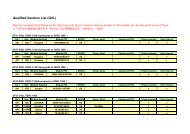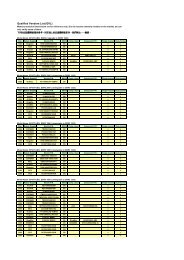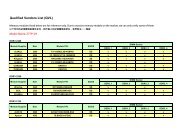
GA-K8VM800M / GA-K8VM800M-RH - visit site - Gigabyte
GA-K8VM800M / GA-K8VM800M-RH - visit site - Gigabyte
GA-K8VM800M / GA-K8VM800M-RH - visit site - Gigabyte

You also want an ePaper? Increase the reach of your titles
YUMPU automatically turns print PDFs into web optimized ePapers that Google loves.
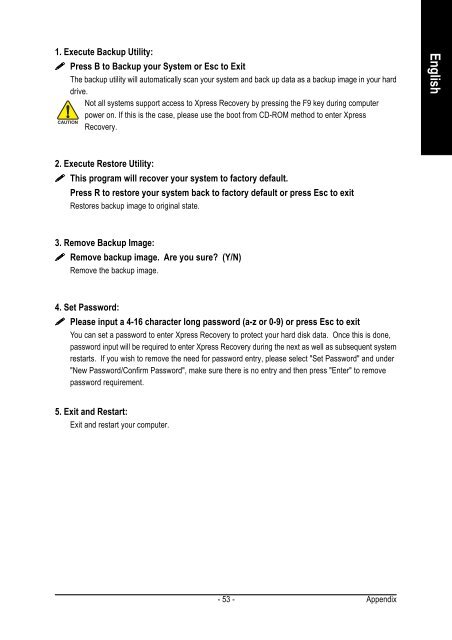
1. Execute Backup Utility:<br />
����� Press B to Backup your System or Esc to Exit<br />
The backup utility will automatically scan your system and back up data as a backup image in your hard<br />
drive.<br />
Not all systems support access to Xpress Recovery by pressing the F9 key during computer<br />
power on. If this is the case, please use the boot from CD-ROM method to enter Xpress<br />
Recovery.<br />
2. Execute Restore Utility:<br />
����� This program will recover your system to factory default.<br />
Press R to restore your system back to factory default or press Esc to exit<br />
Restores backup image to original state.<br />
3. Remove Backup Image:<br />
����� Remove backup image. Are you sure? (Y/N)<br />
Remove the backup image.<br />
4. Set Password:<br />
����� Please input a 4-16 character long password (a-z or 0-9) or press Esc to exit<br />
You can set a password to enter Xpress Recovery to protect your hard disk data. Once this is done,<br />
password input will be required to enter Xpress Recovery during the next as well as subsequent system<br />
restarts. If you wish to remove the need for password entry, please select "Set Password" and under<br />
"New Password/Confirm Password", make sure there is no entry and then press "Enter" to remove<br />
password requirement.<br />
5. Exit and Restart:<br />
Exit and restart your computer.<br />
- 53 -<br />
Appendix<br />
English