PCI TriManual-Intro - Sonnet Technologies
PCI TriManual-Intro - Sonnet Technologies
PCI TriManual-Intro - Sonnet Technologies

You also want an ePaper? Increase the reach of your titles
YUMPU automatically turns print PDFs into web optimized ePapers that Google loves.
<strong>PCI</strong> <strong>TriManual</strong>-Chapters 1-13 3/30/01 5:56 PM Page 63<br />
En<br />
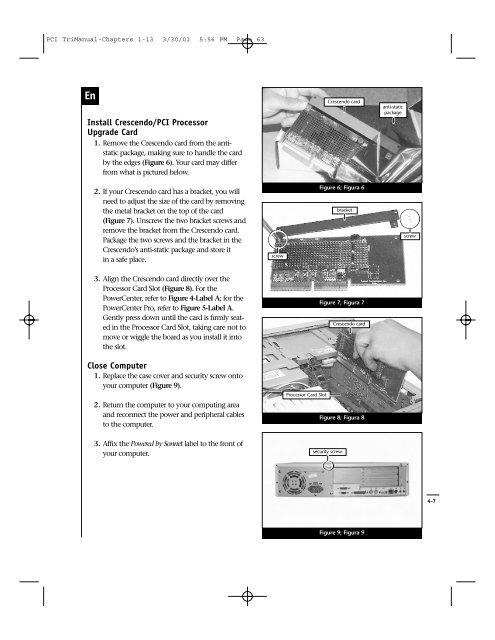
Install Crescendo/<strong>PCI</strong> Processor<br />
Upgrade Card<br />
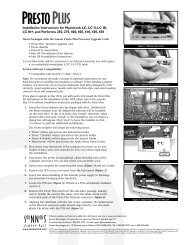
1. Remove the Crescendo card from the antistatic<br />
package, making sure to handle the card<br />
by the edges (Figure 6). Your card may differ<br />
from what is pictured below.<br />
Crescendo card<br />
anti-static<br />
package<br />
2. If your Crescendo card has a bracket, you will<br />
need to adjust the size of the card by removing<br />
the metal bracket on the top of the card<br />
(Figure 7). Unscrew the two bracket screws and<br />
remove the bracket from the Crescendo card.<br />
Package the two screws and the bracket in the<br />
Crescendo’s anti-static package and store it<br />
in a safe place.<br />
screw<br />
Figure 6; Figura 6<br />
bracket<br />
screw<br />
3. Align the Crescendo card directly over the<br />
Processor Card Slot (Figure 8). For the<br />
PowerCenter, refer to Figure 4-Label A; for the<br />
PowerCenter Pro, refer to Figure 5-Label A.<br />
Gently press down until the card is firmly seated<br />
in the Processor Card Slot, taking care not to<br />
move or wiggle the board as you install it into<br />
the slot.<br />
Figure 7; Figura 7<br />
Crescendo card<br />
Close Computer<br />
1. Replace the case cover and security screw onto<br />
your computer (Figure 9).<br />
Processor Card Slot<br />
2. Return the computer to your computing area<br />
and reconnect the power and peripheral cables<br />
to the computer.<br />
Figure 8; Figura 8<br />
3. Affix the Powered by <strong>Sonnet</strong> label to the front of<br />
your computer.<br />
security screw<br />
4-7<br />
Figure 9; Figura 9