

Pioneer KRL-32V - User manual - allemand, anglais, espagnol, français, italien, néerlandais, russe
Pioneer KRL-32V - User manual - allemand, anglais, espagnol, français, italien, néerlandais, russe
Pioneer KRL-32V - User manual - allemand, anglais, espagnol, français, italien, néerlandais, russe

You also want an ePaper? Increase the reach of your titles
YUMPU automatically turns print PDFs into web optimized ePapers that Google loves.
Connecting a PC<br />
1<br />
2<br />
Adjusting the PC image<br />
automatically<br />
This function enables the screen to be automatically<br />
adjusted to its best possible condition when the<br />
analogue terminals of the TV and PC are connected<br />
with a commercially available DVI/RGB conversion<br />
cable, etc.<br />
Setup<br />
Auto Sync.<br />
Setup<br />
Fine Sync.<br />
30%<br />
NOTE<br />
• When “Auto Sync.” is successful, “Auto Sync completed<br />
successfully” displays. If not, “Auto Sync.” failed.<br />
• “Auto Sync.” may fail even if “Auto Sync completed<br />
successfully” displays.<br />
• “Auto Sync.” may fail if the PC image has low resolution,<br />
has unclear (black) edges, or is moved while executing<br />
“Auto Sync.”.<br />
• Be sure to connect the PC to the TV and switch it on<br />
before starting “Auto Sync.”.<br />
• “Auto Sync.” can be executed only when inputting<br />
analogue signals through the INPUT7 terminal.<br />
Adjusting the PC image <strong>manual</strong>ly<br />
Ordinarily you can easily adjust the picture as<br />
necessary to change image position using “Auto<br />
Sync.”. In some cases, however, <strong>manual</strong> adjustment is<br />
needed to optimise the image.<br />
Press a/b to select the specific adjustment<br />
item.<br />
Press c/d to adjust the item to the desired<br />
position.<br />
Item<br />
H-Pos.: Centres the image by moving it to the left or<br />
right.<br />
V-Pos.: Centres the image by moving it up or down.<br />
Clock: Adjusts when the image flickers with vertical<br />
stripes.<br />
Phase: Adjusts when characters have low contrast or<br />
when the image flickers.<br />
NOTE<br />
• For resetting all adjustment items to the factory preset<br />
values, press a/b to select “Reset”, and then press<br />
ENTER.<br />
• “Clock” and “Phase” in the “Fine Sync.” menu can be<br />
adjusted only when inputting analogue signals through the<br />
INPUT7 terminal.<br />
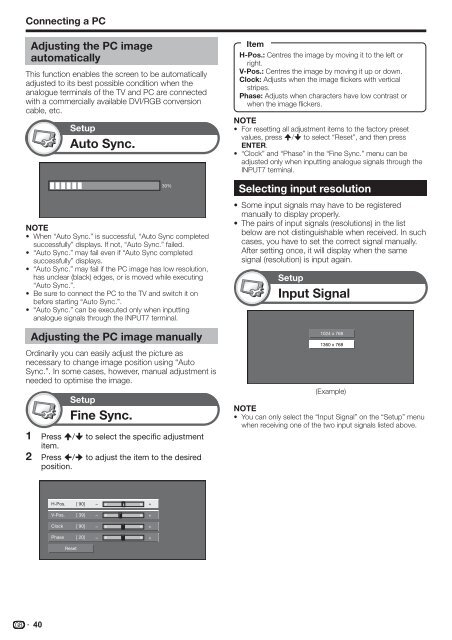
Selecting input resolution<br />
• Some input signals may have to be registered<br />
<strong>manual</strong>ly to display properly.<br />
• The pairs of input signals (resolutions) in the list<br />
below are not distinguishable when received. In such<br />
cases, you have to set the correct signal <strong>manual</strong>ly.<br />
After setting once, it will display when the same<br />
signal (resolution) is input again.<br />
Setup<br />
Input Signal<br />
1024 x 768<br />
1360 x 768<br />
(Example)<br />
NOTE<br />
• You can only select the “Input Signal” on the “Setup” menu<br />
when receiving one of the two input signals listed above.<br />
H-Pos. [ 90] a b<br />
V-Pos.<br />
[ 39]<br />
a<br />
b<br />
Clock<br />
[ 90]<br />
a<br />
b<br />
Phase<br />
[ 20]<br />
a<br />
b<br />
Reset<br />
40


