

Samsung Multifunzione b/n MultiXpress SL-K7500LX (A3) (50 ppm) - User Manual_36.16 MB, pdf, ENGLISH
Samsung Multifunzione b/n MultiXpress SL-K7500LX (A3) (50 ppm) - User Manual_36.16 MB, pdf, ENGLISH
Samsung Multifunzione b/n MultiXpress SL-K7500LX (A3) (50 ppm) - User Manual_36.16 MB, pdf, ENGLISH

You also want an ePaper? Increase the reach of your titles
YUMPU automatically turns print PDFs into web optimized ePapers that Google loves.
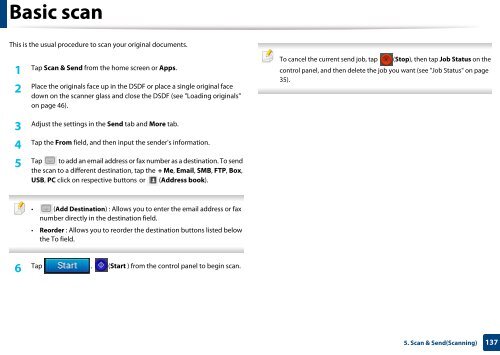
Basic scan<br />
This is the usual procedure to scan your original documents.<br />
1<br />
Tap Scan & Send from the home screen or Apps.<br />
2<br />
Place the originals face up in the DSDF or place a single original face<br />
down on the scanner glass and close the DSDF (see "Loading originals"<br />
on page 46).<br />
To cancel the current send job, tap (Stop), then tap Job Status on the<br />
control panel, and then delete the job you want (see "Job Status" on page<br />
35).<br />
3<br />
Adjust the settings in the Send tab and More tab.<br />
4<br />
Tap the From field, and then input the sender's information.<br />
Tap to add an email address or fax number as a destination. To send<br />
5<br />
the scan to a different destination, tap the + Me, Email, S<strong>MB</strong>, FTP, Box,<br />
USB, PC click on respective buttons or (Address book).<br />
• (Add Destination) : Allows you to enter the email address or fax<br />
number directly in the destination field.<br />
• Reorder : Allows you to reorder the destination buttons listed below<br />
the To field.<br />
6<br />
Tap . (Start ) from the control panel to begin scan.<br />
5. Scan & Send(Scanning)<br />
137


