Samsung Multifunzione b/n MultiXpress SL-K7500LX (A3) (50 ppm) - User Manual_36.16 MB, pdf, ENGLISH
Samsung Multifunzione b/n MultiXpress SL-K7500LX (A3) (50 ppm) - User Manual_36.16 MB, pdf, ENGLISH
Samsung Multifunzione b/n MultiXpress SL-K7500LX (A3) (50 ppm) - User Manual_36.16 MB, pdf, ENGLISH
Create successful ePaper yourself
Turn your PDF publications into a flip-book with our unique Google optimized e-Paper software.
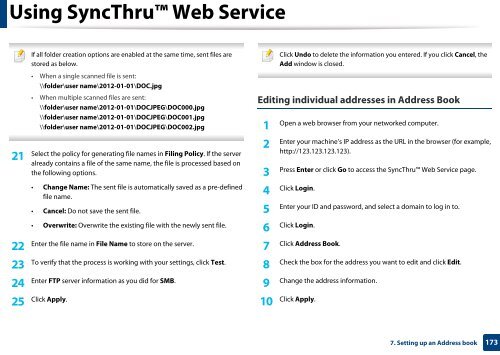
Using SyncThru Web Service<br />
Click Undo to delete the information you entered. If you click Cancel, the<br />
If all folder creation options are enabled at the same time, sent files are<br />
25 Click Apply. Click Apply.<br />
10<br />
stored as below.<br />
Add window is closed.<br />
• When a single scanned file is sent:<br />
\\folder\user name\2012-01-01\DOC.jpg<br />
• When multiple scanned files are sent:<br />
\\folder\user name\2012-01-01\DOCJPEG\DOC000.jpg<br />
Editing individual addresses in Address Book<br />
\\folder\user name\2012-01-01\DOCJPEG\DOC001.jpg<br />
\\folder\user name\2012-01-01\DOCJPEG\DOC002.jpg<br />
1<br />
Open a web browser from your networked computer.<br />
Enter your machine’s IP address as the URL in the browser (for example,<br />
2<br />
Select the policy for generating file names in Filing Policy. If the server<br />
http://123.123.123.123).<br />
21<br />
already contains a file of the same name, the file is processed based on<br />
the following options.<br />
Press Enter or click Go to access the SyncThru Web Service page.<br />
3<br />
• Change Name: The sent file is automatically saved as a pre-defined<br />
file name.<br />
4<br />
Click Login.<br />
• Cancel: Do not save the sent file.<br />
5<br />
Enter your ID and password, and select a domain to log in to.<br />
• Overwrite: Overwrite the existing file with the newly sent file.<br />
6<br />
Click Login.<br />
Enter the file name in File Name to store on the server.<br />
22 7<br />
Click Address Book.<br />
To verify that the process is working with your settings, click Test.<br />
23 8<br />
Check the box for the address you want to edit and click Edit.<br />
Enter FTP server information as you did for S<strong>MB</strong>.<br />
24 9<br />
Change the address information.<br />
7. Setting up an Address book<br />
173


