- Page 1 and 2: apple Apple Technician Guide MacBoo
- Page 3 and 4: MacBook Pro (15-inch, 2.53 GHz, Mid
- Page 5 and 6: Hard Drive Not Recognized/Not Mount
- Page 7 and 8: Removal 188 Replacement 190 Left Sp
- Page 9 and 10: 2010-08-05 Manual Updates Update 11
- Page 11 and 12: 2010-08-05 Apple Technician Guide I
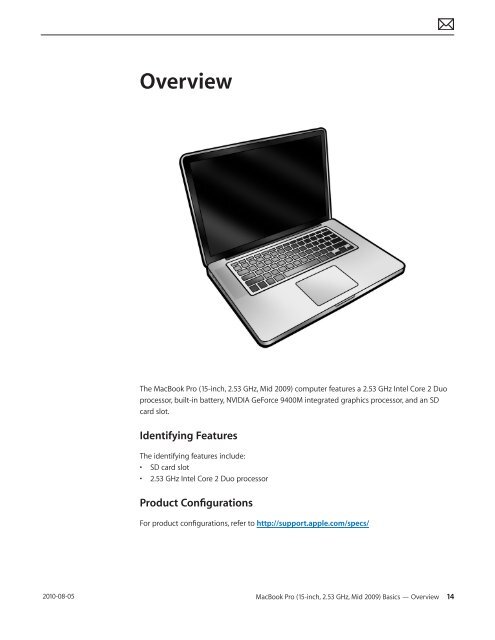
- Page 13: apple Apple Technician Guide Basics
- Page 17 and 18: 2010-08-05 Transferring the Serial
- Page 19 and 20: 2010-08-05 Display Panels Customers
- Page 21 and 22: 2010-08-05 The Glass Panel Warning:
- Page 23 and 24: 2010-08-05 General Troubleshooting
- Page 25 and 26: 2010-08-05 Functional Overview Refe
- Page 27 and 28: 2010-08-05 Liquid Contact Indicator
- Page 29 and 30: 2010-08-05 Display Issue: Pixel Ano
- Page 31 and 32: 2010-08-05 Symptom Charts Follow th
- Page 33 and 34: 2010-08-05 8. Verify adapter status
- Page 35 and 36: 2010-08-05 3. Reseat customer memor
- Page 37 and 38: 2010-08-05 Intermittent Shutdown Un
- Page 39 and 40: 2010-08-05 Quick Check Symptom Quic
- Page 41 and 42: 2010-08-05 7. Check if sleep event
- Page 43 and 44: 2010-08-05 4. Reset SMC and verify
- Page 45 and 46: 2010-08-05 11. Verify with reseated
- Page 47 and 48: 2010-08-05 11. Battery status LEDs
- Page 49 and 50: 2010-08-05 3. Boot in Safe Mode wit
- Page 51 and 52: 2010-08-05 6. Disconnect display as
- Page 53 and 54: 2010-08-05 Deep Dive Check Result A
- Page 55 and 56: 2010-08-05 Noise / Hum / Vibration
- Page 57 and 58: 2010-08-05 Burnt Smell / Odor Unlik
- Page 59 and 60: 2010-08-05 Communications Ethernet
- Page 61 and 62: 2010-08-05 AirPort/Bluetooth: Defec
- Page 63 and 64: 2010-08-05 No/Poor Wireless Signal
- Page 65 and 66:
2010-08-05 2. System Preferences ha
- Page 67 and 68:
2010-08-05 3. Isolate AirPort card
- Page 69 and 70:
2010-08-05 8. (Bluetooth) Enable Bl
- Page 71 and 72:
2010-08-05 Display Display Anomalie
- Page 73 and 74:
2010-08-05 Deep Dive: Distorted/Blu
- Page 75 and 76:
2010-08-05 7. Substitute a known-go
- Page 77 and 78:
2010-08-05 Blank / No Video Unlikel
- Page 79 and 80:
2010-08-05 5. Inspect LVDS connecto
- Page 81 and 82:
2010-08-05 Cosmetic Defects Quick C
- Page 83 and 84:
2010-08-05 4. After reseating hard
- Page 85 and 86:
2010-08-05 Hard Drive Noisy Unlikel
- Page 87 and 88:
2010-08-05 Deep Dive Check Result A
- Page 89 and 90:
2010-08-05 2. Can optical drive rea
- Page 91 and 92:
2010-08-05 Optical Drive Noisy Unli
- Page 93 and 94:
2010-08-05 Optical Drive Not Perfor
- Page 95 and 96:
2010-08-05 Input/Output Devices USB
- Page 97 and 98:
2010-08-05 4. Reseat cable and chec
- Page 99 and 100:
2010-08-05 6. Does the select butto
- Page 101 and 102:
2010-08-05 2. Reset SMC and verify
- Page 103 and 104:
2010-08-05 Apple Remote Inoperable
- Page 105 and 106:
2010-08-05 3. Verify that you now g
- Page 107 and 108:
2010-08-05 SD (Secure Digital) Memo
- Page 109 and 110:
2010-08-05 3. Unlock the customer S
- Page 111 and 112:
2008-09-18 Mechanical Issues: Therm
- Page 113 and 114:
2008-09-18 Deep Dive Check Result A
- Page 115 and 116:
apple Apple Technician Guide Take A
- Page 117 and 118:
Horizontal Install • Pull connect
- Page 119 and 120:
2010-08-05 Icon Legend The followin
- Page 121 and 122:
Removal Caution: To prevent scratch
- Page 123 and 124:
Replacement 1 When replacing a bott
- Page 125 and 126:
Removal 1 Using the Torx Plus Tampe
- Page 127 and 128:
3 Press battery indicator light but
- Page 129 and 130:
Removal 1 Loosen 2 captive screws t
- Page 131 and 132:
6 Follow safe handling: • Do not
- Page 133 and 134:
3 Attach connector and insert hard
- Page 135 and 136:
First Steps Remove: • Bottom case
- Page 137 and 138:
First Steps Remove: • Bottom case
- Page 139 and 140:
Replacement 1 Install cards at an a
- Page 141 and 142:
Removal 1 Disconnect 2 screws. 2 Pe
- Page 143 and 144:
First Steps Remove: • Bottom case
- Page 145 and 146:
First Steps Remove: • Bottom case
- Page 147 and 148:
First Steps Remove: • Bottom case
- Page 149 and 150:
4 Peel and lift cable off optical d
- Page 151 and 152:
8 Open the display to 90 degrees, a
- Page 153 and 154:
Display Hinge Behavior The MacBook
- Page 155 and 156:
First Steps Remove: • Bottom case
- Page 157 and 158:
4 Tilt up end of clutch cover as yo
- Page 159 and 160:
First Steps Remove: • Bottom case
- Page 161 and 162:
Replacement 1 Make sure thermal pad
- Page 163 and 164:
Removal 1 Remove 4 (3-mm) screws. 2
- Page 165 and 166:
Removal 1 Remove 3 screws • 3 (3.
- Page 167 and 168:
5 With a black stick, carefully pry
- Page 169 and 170:
Removal 1 With a black stick or fin
- Page 171 and 172:
Removal 1 Using black stick, discon
- Page 173 and 174:
2010-08-05 Note on Foam: A small pi
- Page 175 and 176:
First Steps Remove: • Bottom case
- Page 177 and 178:
First Steps Remove: • Bottom case
- Page 179 and 180:
Caution: The LVDS cable/ lock bar i
- Page 181 and 182:
10 Remove 8 torx T6 logic board scr
- Page 183 and 184:
First Steps Remove: • Bottom case
- Page 185 and 186:
Replacement Important: New heatsink
- Page 187 and 188:
First Steps Remove: • Bottom case
- Page 189 and 190:
5 Support trackpad and flex cable a
- Page 191 and 192:
4 On the palm rest, insert one stic
- Page 193 and 194:
First Steps Remove: • Bottom case
- Page 195 and 196:
3 Move speaker out of the way. 4 Di
- Page 197 and 198:
Removal Use black stick to pry micr
- Page 199 and 200:
Removal 1 Remove 2 torx T6 screws (
- Page 201 and 202:
Removal 1 Remove 2 screws: • 10-m
- Page 203 and 204:
Removal 1 Place tape over battery b
- Page 205 and 206:
Removal With the first steps comple
- Page 207 and 208:
Bottom Case 922-9043 Hard Drive Bra
- Page 209 and 210:
2010-08-05 External Views Front Vie
- Page 211 and 212:
2008-08-27 Screw Chart 076-1327 Phi
- Page 213 and 214:
2010-08-05 Screw Location Diagrams
- Page 215 and 216:
LVDS Cable Guide, Fan, and Camera C
- Page 217 and 218:
Trackpad, Midwall Snap, and Midwall
- Page 219 and 220:
Battery Indicator Light Board and C
- Page 221:
AirPort Card and Antenna Board Scre