LIBRARY ı6ıul 0) - Cranfield University
LIBRARY ı6ıul 0) - Cranfield University
LIBRARY ı6ıul 0) - Cranfield University
Create successful ePaper yourself
Turn your PDF publications into a flip-book with our unique Google optimized e-Paper software.
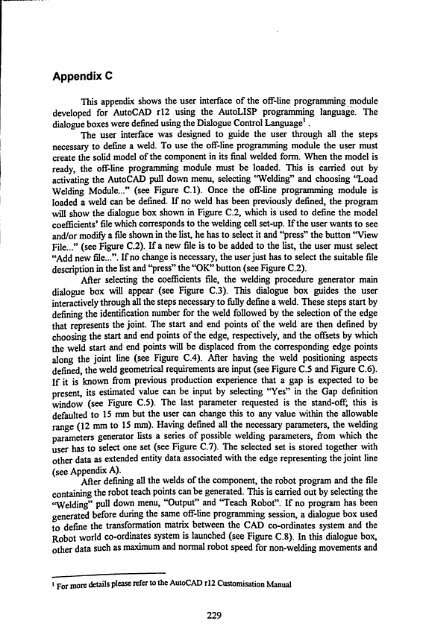
Appendix C<br />
This appendix shows the user interface of the off-line programming module<br />
developed for AutoCAD r12 using the AutoLISP programming language. The<br />
dialogue boxes were defined using the Dialogue Control Language' .<br />
The user interface was designed to guide the user through all the steps<br />
necessary to define a weld. To use the off-line programming module the user must<br />
create the solid model of the component in its final welded form. When the model is<br />
ready, the off-line programming module must be loaded. This is carried out by<br />
activating the AutoCAD pull down menu, selecting "Welding" and choosing "Load<br />
Welding Module... " (see Figure C. 1). Once the off-line programming module is<br />
loaded a weld can be defined. If no weld has been previously defined, the program<br />
will show the dialogue box shown in Figure C. 2, which is used to define the model<br />
coefficients' file which corresponds to the welding cell set-up. If the user wants to see<br />
and/or modify a file shown in the list, he has to select it and "press" the button "View<br />
File... " (see Figure C. 2). If a new file is to be added to the list, the user must select<br />
"Add new file... ". If no change is necessary, the user just has to select the suitable file<br />
description in the list and "press" the "OK" button (see Figure C. 2).<br />
After selecting the coefficients file, the welding procedure generator main<br />
dialogue box will appear (see Figure C. 3). This dialogue box guides the user<br />
interactively through all the steps necessary to fully define a weld. These steps start by<br />
defining the identification number for the weld followed by the selection of the edge<br />
that represents the joint. The start and end points of the weld are then defined by<br />
choosing the start and end points of the edge, respectively, and the offsets by which<br />
the weld start and end points will be displaced from the corresponding edge points<br />
along the joint line (see Figure C. 4). After having the weld positioning aspects<br />
defined, the weld geometrical requirements are input (see Figure C. 5 and Figure C. 6).<br />
If it is known from previous production experience that a gap is expected to be<br />
present, its estimated value can be input by selecting "Yes" in the Gap definition<br />
window (see Figure C. 5). The last parameter requested is the stand-off, this is<br />
defaulted to 15 mm but the user can change this to any value within the allowable<br />
range (12 mm to 15 nun). Having defined all the necessary parameters, the welding<br />
parameters generator lists a series of possible welding parameters, from which the<br />
user has to select one set (see Figure C. 7). The selected set is stored together with<br />
other data as extended entity data associated with the edge representing the joint line<br />
(see Appendix A).<br />
After defining all the welds of the component, the robot program and the file<br />
containing the robot teach points can be generated. This is carried out by selecting the<br />
"Welding" pull down menu, "Output" and "Teach Robot". If no program has been<br />
generated before during the same off-line programming session, a dialogue box used<br />
to define the transformation matrix between the CAD co-ordinates system and the<br />
Robot world co-ordinates system is launched (see Figure C. 8). In this dialogue box,<br />
other data such as maximum and normal robot speed for non-welding movements and<br />
' For more details Please refer to the AutoCAD r12 Customisation Manual<br />
229


