THE PHOTOGRAPHIC EYE
THE PHOTOGRAPHIC EYE
THE PHOTOGRAPHIC EYE

You also want an ePaper? Increase the reach of your titles
YUMPU automatically turns print PDFs into web optimized ePapers that Google loves.
The easiest way to identify the<br />
emulsion side of a negative is to<br />
set it on a flat surface, with its<br />
edges touching the surface. The<br />
film should look like a tunnel.<br />
The underside (or ceiling) of the<br />
tunnel is the emulsion.<br />
The reason this works is that<br />
the emulsion tends to contract (or<br />
shrink) as it dries. This is because<br />
it absorbs (and later evaporates)<br />
more liquid than the plastic<br />
backing.<br />
You can also tell the emulsion<br />
side of film by looking at it in<br />
fairly bright light. The emulsion<br />
side is the dull side (the plastic<br />
backing is shiny). In addition, if<br />
you carefully examine it, you<br />
should be able to see layers in the<br />
emulsion side (the backing is<br />
smooth).<br />
2. Be sure the negative is free of<br />
dust.<br />
This is the hard part, but it is<br />
essential. For best results, use an<br />
anti-static brush before and after<br />
placing the negative in the holder.<br />
Hold the negative up against a<br />
light and check for any remaining<br />
dust spots. Use the brush or<br />
compressed air until the negative<br />
is perfectly dust-free. Bear in<br />
mind that the darkroom safelight<br />
is not bright enough to reveal<br />
dust. Turn the enlarger or room<br />
light on for this purpose.<br />
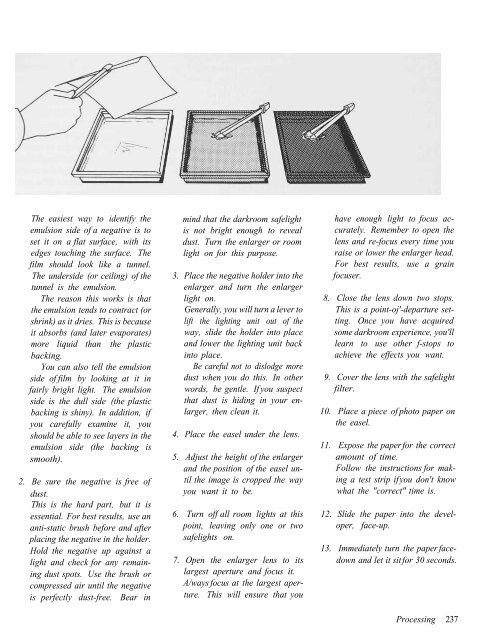
3. Place the negative holder into the<br />
enlarger and turn the enlarger<br />
light on.<br />
Generally, you will turn a lever to<br />
lift the lighting unit out of the<br />
way, slide the holder into place<br />
and lower the lighting unit back<br />
into place.<br />
Be careful not to dislodge more<br />
dust when you do this. In other<br />
words, be gentle. If you suspect<br />
that dust is hiding in your enlarger,<br />
then clean it.<br />
4. Place the easel under the lens.<br />
5. Adjust the height of the enlarger<br />
and the position of the easel until<br />
the image is cropped the way<br />
you want it to be.<br />
6. Turn off all room lights at this<br />
point, leaving only one or two<br />
safelights on.<br />
7. Open the enlarger lens to its<br />
largest aperture and focus it.<br />
A/ways focus at the largest aperture.<br />
This will ensure that you<br />
have enough light to focus accurately.<br />
Remember to open the<br />
lens and re-focus every time you<br />
raise or lower the enlarger head.<br />
For best results, use a grain<br />
focuser.<br />
8. Close the lens down two stops.<br />
This is a point-oj'-departure setting.<br />
Once you have acquired<br />
some darkroom experience, you'll<br />
learn to use other f-stops to<br />
achieve the effects you want.<br />
9. Cover the lens with the safelight<br />
filter.<br />
10. Place a piece of photo paper on<br />
the easel.<br />
11. Expose the paper for the correct<br />
amount of time.<br />
Follow the instructions for making<br />
a test strip if you don't know<br />
what the "correct" time is.<br />
12. Slide the paper into the developer,<br />
face-up.<br />
13. Immediately turn the paper facedown<br />
and let it sit for 30 seconds.<br />
Processing 237