BaseStation 3200 User Manual â 11.7.5.15 ... - Baseline Systems
BaseStation 3200 User Manual â 11.7.5.15 ... - Baseline Systems
BaseStation 3200 User Manual â 11.7.5.15 ... - Baseline Systems

Create successful ePaper yourself
Turn your PDF publications into a flip-book with our unique Google optimized e-Paper software.
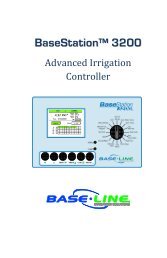
<strong>BaseStation</strong> <strong>3200</strong> Advanced Irrigation Controller <strong>Manual</strong><br />
Prerequisites for Watering with Soil Moisture Sensors<br />
• Your biSensors are installed and assigned in the <strong>BaseStation</strong> <strong>3200</strong>. Make sure to assign the correct biSensor to<br />
its primary zone. Making an incorrect assignment here will result in unexpected and confusing water behavior.<br />
Refer to Assigning Soil Moisture Sensors (biSensors) to Primary Zones on page 40.<br />
• You have created scheduling groups (a primary zone with linked zones) that combine areas with similar<br />
watering needs (hydrozones). For example, the zones that water the softball field would be in one scheduling<br />
group and the zones that water the north lawn between the sidewalk and the building would be in another<br />
scheduling group. Refer to Linking Zones (Creating a Scheduling Group) on page 45.<br />
To configure your biSensors and set up watering strategies<br />
1. Turn the dial to the biSensor Menu position.<br />
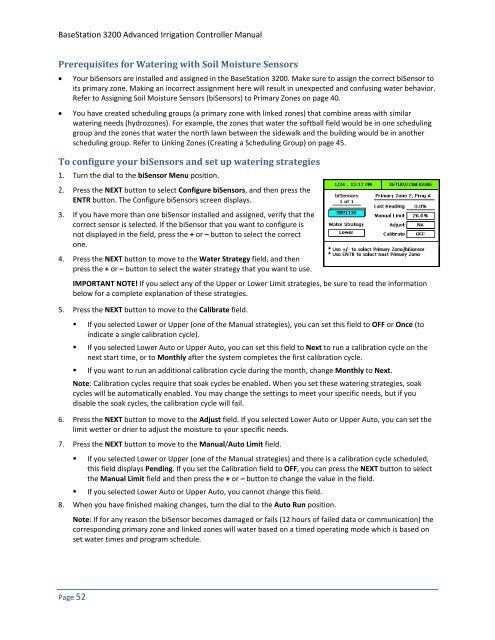
2. Press the NEXT button to select Configure biSensors, and then press the<br />
ENTR button. The Configure biSensors screen displays.<br />
3. If you have more than one biSensor installed and assigned, verify that the<br />
correct sensor is selected. If the biSensor that you want to configure is<br />
not displayed in the field, press the + or – button to select the correct<br />
one.<br />
4. Press the NEXT button to move to the Water Strategy field, and then<br />
press the + or – button to select the water strategy that you want to use.<br />
IMPORTANT NOTE! If you select any of the Upper or Lower Limit strategies, be sure to read the information<br />
below for a complete explanation of these strategies.<br />
5. Press the NEXT button to move to the Calibrate field.<br />
• If you selected Lower or Upper (one of the <strong>Manual</strong> strategies), you can set this field to OFF or Once (to<br />
indicate a single calibration cycle).<br />
• If you selected Lower Auto or Upper Auto, you can set this field to Next to run a calibration cycle on the<br />
next start time, or to Monthly after the system completes the first calibration cycle.<br />
• If you want to run an additional calibration cycle during the month, change Monthly to Next.<br />
Note: Calibration cycles require that soak cycles be enabled. When you set these watering strategies, soak<br />
cycles will be automatically enabled. You may change the settings to meet your specific needs, but if you<br />
disable the soak cycles, the calibration cycle will fail.<br />
6. Press the NEXT button to move to the Adjust field. If you selected Lower Auto or Upper Auto, you can set the<br />
limit wetter or drier to adjust the moisture to your specific needs.<br />
7. Press the NEXT button to move to the <strong>Manual</strong>/Auto Limit field.<br />
• If you selected Lower or Upper (one of the <strong>Manual</strong> strategies) and there is a calibration cycle scheduled,<br />
this field displays Pending. If you set the Calibration field to OFF, you can press the NEXT button to select<br />
the <strong>Manual</strong> Limit field and then press the + or – button to change the value in the field.<br />
• If you selected Lower Auto or Upper Auto, you cannot change this field.<br />
8. When you have finished making changes, turn the dial to the Auto Run position.<br />
Note: If for any reason the biSensor becomes damaged or fails (12 hours of failed data or communication) the<br />
corresponding primary zone and linked zones will water based on a timed operating mode which is based on<br />
set water times and program schedule.<br />
Page 52