h16tp(x - AJ Maskin AS
h16tp(x - AJ Maskin AS
h16tp(x - AJ Maskin AS
- No tags were found...

Create successful ePaper yourself
Turn your PDF publications into a flip-book with our unique Google optimized e-Paper software.
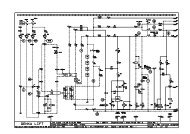
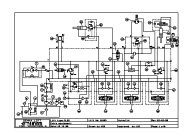
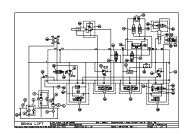
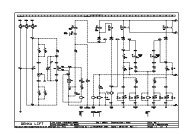
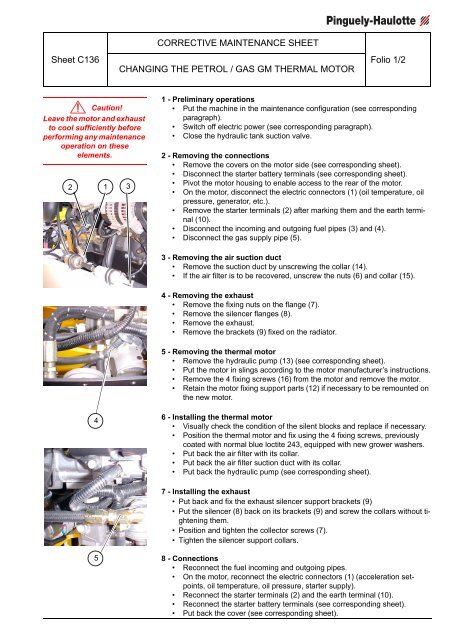
Sheet C136CORRECTIVE MAINTENANCE SHEETCHANGING THE PETROL / G<strong>AS</strong> GM THERMAL MOTORFolio 1/2Caution!Leave the motor and exhaustto cool sufficiently beforeperforming any maintenanceoperation on theseelements.21 31 - Preliminary operations• Put the machine in the maintenance configuration (see correspondingparagraph).• Switch off electric power (see corresponding paragraph).• Close the hydraulic tank suction valve.2 - Removing the connections• Remove the covers on the motor side (see corresponding sheet).• Disconnect the starter battery terminals (see corresponding sheet).• Pivot the motor housing to enable access to the rear of the motor.• On the motor, disconnect the electric connectors (1) (oil temperature, oilpressure, generator, etc.).• Remove the starter terminals (2) after marking them and the earth terminal(10).• Disconnect the incoming and outgoing fuel pipes (3) and (4).• Disconnect the gas supply pipe (5).3 - Removing the air suction duct• Remove the suction duct by unscrewing the collar (14).• If the air filter is to be recovered, unscrew the nuts (6) and collar (15).4 - Removing the exhaust• Remove the fixing nuts on the flange (7).• Remove the silencer flanges (8).• Remove the exhaust.• Remove the brackets (9) fixed on the radiator.5 - Removing the thermal motor• Remove the hydraulic pump (13) (see corresponding sheet).• Put the motor in slings according to the motor manufacturer’s instructions.• Remove the 4 fixing screws (16) from the motor and remove the motor.• Retain the motor fixing support parts (12) if necessary to be remounted onthe new motor.46 - Installing the thermal motor• Visually check the condition of the silent blocks and replace if necessary.• Position the thermal motor and fix using the 4 fixing screws, previouslycoated with normal blue loctite 243, equipped with new grower washers.• Put back the air filter with its collar.• Put back the air filter suction duct with its collar.• Put back the hydraulic pump (see corresponding sheet).7 - Installing the exhaust• Put back and fix the exhaust silencer support brackets (9)• Put the silencer (8) back on its brackets (9) and screw the collars without tighteningthem.• Position and tighten the collector screws (7).• Tighten the silencer support collars.58 - Connections• Reconnect the fuel incoming and outgoing pipes.• On the motor, reconnect the electric connectors (1) (acceleration setpoints,oil temperature, oil pressure, starter supply).• Reconnect the starter terminals (2) and the earth terminal (10).• Reconnect the starter battery terminals (see corresponding sheet).• Put back the cover (see corresponding sheet).