WEB STANDARDS CREATIVITY
WEB STANDARDS CREATIVITY
WEB STANDARDS CREATIVITY

Create successful ePaper yourself
Turn your PDF publications into a flip-book with our unique Google optimized e-Paper software.
Ever find yourself getting lost in a sea of divs when working with generated markup? If you’re stuck working<br />
with a CMS that generates as many nested divs as the one discussed in this chapter, you can help make your<br />
markup easier to read (for you and others) by commenting the closing tag of each div with the ID or class of<br />
its corresponding opening tag. Take a look at the sample markup. See how much easier it is to pair up the<br />
closing tags of commented divs compared to the tags without comments?<br />
Notice that the “modules” in the sidebar (conveniently assigned the class .module) are empty. These are just containers, in<br />
which the actual CMS-generated content will be dropped shortly, so for now, we leave them alone. The important thing is that<br />
they exist, can be targeted individually thanks to their unique IDs, and their order within the document flow is interchangeable.<br />
While most of this markup should be fairly self-explanatory, I’ll discuss the handful of .clearfix classes in the next section.<br />
Later, in the “Spit and polish” section, I’ll review the technique I used to style the unordered list for the main navigation (the<br />
navigation wasn’t generated by the CMS).<br />
I said that the CMS content templates didn’t include a list option, so what’s with that in the footer? Due<br />
to the time constraints on the project, I was able to convince the powers-that-be to add a list option to the<br />
content templates. This gave me the proper hooks needed to style the list and use more appropriate markup<br />
for that styling. It’s much better to clean up the markup and then work your CSS magic than to work with<br />
messy, crowded markup. That said, the look could also have mostly been re-created using the original nonlist<br />
markup, it just would have required much more CSS trickery to accomplish a similar result, which would<br />
have unnecessarily complicated the project and extended the timeline.<br />
The layout and styles<br />
Now we’re getting into the heavy stuff, so you may want to let your family members know they won’t be seeing or hearing<br />
from you for quite a while, except for bringing you many cups of tea over the course of the next section—you do need your<br />
brain fuel, after all. We’re not actually going to get into a deep discussion regarding the layout itself—it’s not really that<br />
snazzy under the hood—but we are going to review the basic styles needed to create it.<br />
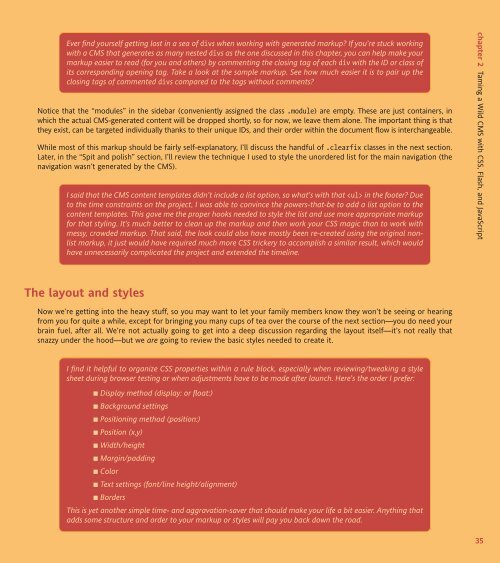
I find it helpful to organize CSS properties within a rule block, especially when reviewing/tweaking a style<br />
sheet during browser testing or when adjustments have to be made after launch. Here’s the order I prefer:<br />
■ Display method (display: or float:)<br />
■ Background settings<br />
■ Positioning method (position:)<br />
■ Position (x,y)<br />
■ Width/height<br />
■ Margin/padding<br />
■ Color<br />
■ Text settings (font/line height/alignment)<br />
■ Borders<br />
This is yet another simple time- and aggravation-saver that should make your life a bit easier. Anything that<br />
adds some structure and order to your markup or styles will pay you back down the road.<br />
chapter 2 Taming a Wild CMS with CSS, Flash, and JavaScript<br />
35