QuarkXPress to Adobe InDesign CS4 Conversion Guide
QuarkXPress to Adobe InDesign CS4 Conversion Guide
QuarkXPress to Adobe InDesign CS4 Conversion Guide

Create successful ePaper yourself
Turn your PDF publications into a flip-book with our unique Google optimized e-Paper software.
Frame | Stroke<br />
<strong>QuarkXPress</strong> is limited <strong>to</strong> putting frames around boxes<br />
and changing line width. With <strong>InDesign</strong>, you can add a<br />
stroke <strong>to</strong> any <strong>InDesign</strong> object, including a path, frame, or<br />
selected text, with the Control or the Stroke panel. Then<br />
apply a color, a tint, or a gradient <strong>to</strong> the stroke using the<br />
Swatches, Color, Gradient, or Tools panel.<br />
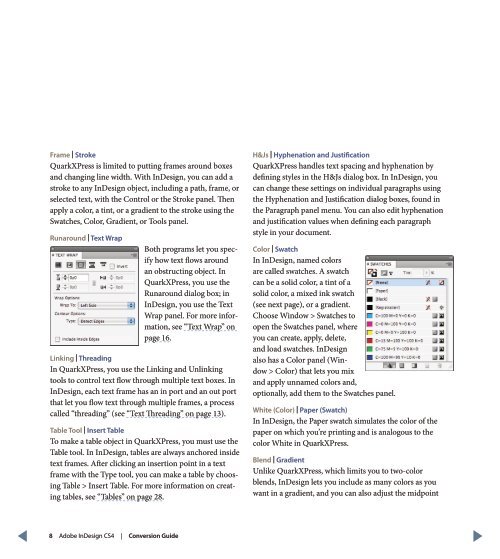
Runaround | Text Wrap<br />
Both programs let you specify<br />
how text flows around<br />
an obstructing object. In<br />
<strong>QuarkXPress</strong>, you use the<br />
Runaround dialog box; in<br />
<strong>InDesign</strong>, you use the Text<br />
Wrap panel. For more information,<br />
see “Text Wrap” on<br />
page 16.<br />
Linking | Threading<br />
In <strong>QuarkXPress</strong>, you use the Linking and Unlinking<br />
<strong>to</strong>ols <strong>to</strong> control text flow through multiple text boxes. In<br />
<strong>InDesign</strong>, each text frame has an in port and an out port<br />
that let you flow text through multiple frames, a process<br />
called “threading” (see “Text Threading” on page 13).<br />
Table Tool | Insert Table<br />
To make a table object in <strong>QuarkXPress</strong>, you must use the<br />
Table <strong>to</strong>ol. In <strong>InDesign</strong>, tables are always anchored inside<br />
text frames. After clicking an insertion point in a text<br />
frame with the Type <strong>to</strong>ol, you can make a table by choosing<br />
Table > Insert Table. For more information on creating<br />
tables, see “Tables” on page 28.<br />
H&Js | Hyphenation and Justification<br />
<strong>QuarkXPress</strong> handles text spacing and hyphenation by<br />
defining styles in the H&Js dialog box. In <strong>InDesign</strong>, you<br />
can change these settings on individual paragraphs using<br />
the Hyphenation and Justification dialog boxes, found in<br />
the Paragraph panel menu. You can also edit hyphenation<br />
and justification values when defining each paragraph<br />
style in your document.<br />
Color | Swatch<br />
In <strong>InDesign</strong>, named colors<br />
are called swatches. A swatch<br />
can be a solid color, a tint of a<br />
solid color, a mixed ink swatch<br />
(see next page), or a gradient.<br />
Choose Window > Swatches <strong>to</strong><br />
open the Swatches panel, where<br />
you can create, apply, delete,<br />
and load swatches. <strong>InDesign</strong><br />
also has a Color panel (Window<br />
> Color) that lets you mix<br />
and apply unnamed colors and,<br />
optionally, add them <strong>to</strong> the Swatches panel.<br />
White (Color) | Paper (Swatch)<br />
In <strong>InDesign</strong>, the Paper swatch simulates the color of the<br />
paper on which you’re printing and is analogous <strong>to</strong> the<br />
color White in <strong>QuarkXPress</strong>.<br />
Blend | Gradient<br />
Unlike <strong>QuarkXPress</strong>, which limits you <strong>to</strong> two-color<br />
blends, <strong>InDesign</strong> lets you include as many colors as you<br />
want in a gradient, and you can also adjust the midpoint<br />
8 <strong>Adobe</strong> <strong>InDesign</strong> <strong>CS4</strong> | <strong>Conversion</strong> <strong>Guide</strong>