
You also want an ePaper? Increase the reach of your titles
YUMPU automatically turns print PDFs into web optimized ePapers that Google loves.
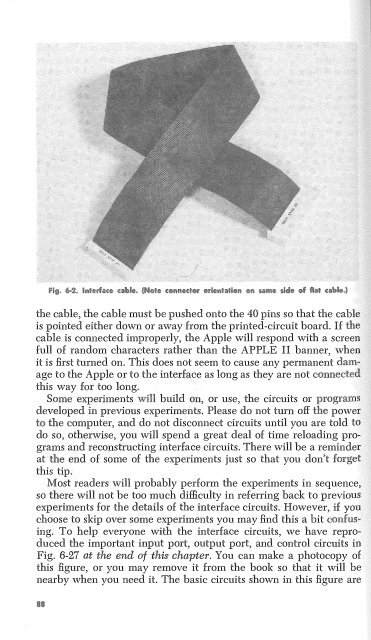
the cable, the cable must be pushed onto the 40 pins so that the cable<br />
is pointed either down or away from the printed-circuit board. If the<br />
cable is connected improperly, the Apple will respond with a screen<br />
full of random characters rather than the APPLE II banner, when<br />
it is first turned on. This does not seem to cause any permanent dame<br />
age to the Apple or to the interface as long as they are not connected<br />
this way for too long.<br />
Some experiments will build on, or use, the circuits or<br />
developed in previous experiments. Please do not tum off power<br />
to the computer, and do not disconnect circuits until you are told<br />
do so, otherwise, you will spend a great deal of time reloading programs<br />
and reconstructing interface circuits. There will be a reminder<br />
at the end of some of the experiments just so that you don't forget<br />
this tip.<br />
Most readers will probably perform the experiments in sequence,<br />
so there will not be too much difficulty in referring back to previous<br />
experiments for the details of the interface circuits. However, if you<br />
choose to skip over some experiments you may find this a bit confusing.<br />
To help everyone with the interface circuits, we have reproduced<br />
the important input port, output port, and control circuits in<br />
Fig. 6-27 at the end of this chapter. You can make a photocopy of<br />
this figure, or you may remove it from the book so that it will be<br />
nearby when you need it. The basic circuits shown in this figure are