HP BladeSystem Onboard Administrator User Guide - HP Business ...
HP BladeSystem Onboard Administrator User Guide - HP Business ...
HP BladeSystem Onboard Administrator User Guide - HP Business ...
You also want an ePaper? Increase the reach of your titles
YUMPU automatically turns print PDFs into web optimized ePapers that Google loves.
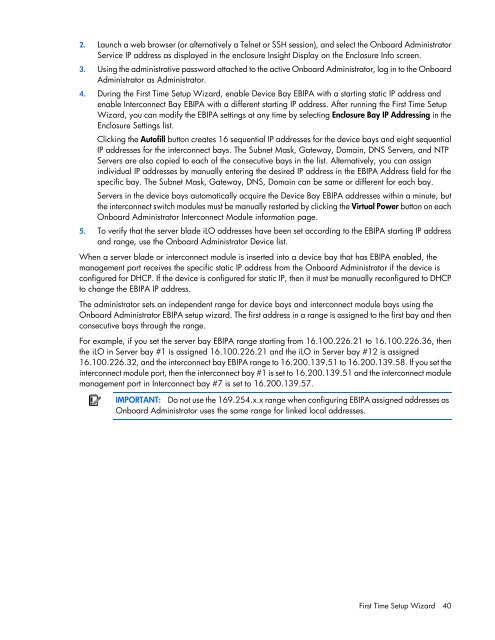
2. Launch a web browser (or alternatively a Telnet or SSH session), and select the <strong>Onboard</strong> <strong>Administrator</strong><br />
Service IP address as displayed in the enclosure Insight Display on the Enclosure Info screen.<br />
3. Using the administrative password attached to the active <strong>Onboard</strong> <strong>Administrator</strong>, log in to the <strong>Onboard</strong><br />
<strong>Administrator</strong> as <strong>Administrator</strong>.<br />
4. During the First Time Setup Wizard, enable Device Bay EBIPA with a starting static IP address and<br />
enable Interconnect Bay EBIPA with a different starting IP address. After running the First Time Setup<br />
Wizard, you can modify the EBIPA settings at any time by selecting Enclosure Bay IP Addressing in the<br />
Enclosure Settings list.<br />
Clicking the Autofill button creates 16 sequential IP addresses for the device bays and eight sequential<br />
IP addresses for the interconnect bays. The Subnet Mask, Gateway, Domain, DNS Servers, and NTP<br />
Servers are also copied to each of the consecutive bays in the list. Alternatively, you can assign<br />
individual IP addresses by manually entering the desired IP address in the EBIPA Address field for the<br />
specific bay. The Subnet Mask, Gateway, DNS, Domain can be same or different for each bay.<br />
Servers in the device bays automatically acquire the Device Bay EBIPA addresses within a minute, but<br />
the interconnect switch modules must be manually restarted by clicking the Virtual Power button on each<br />
<strong>Onboard</strong> <strong>Administrator</strong> Interconnect Module information page.<br />
5. To verify that the server blade iLO addresses have been set according to the EBIPA starting IP address<br />
and range, use the <strong>Onboard</strong> <strong>Administrator</strong> Device list.<br />
When a server blade or interconnect module is inserted into a device bay that has EBIPA enabled, the<br />
management port receives the specific static IP address from the <strong>Onboard</strong> <strong>Administrator</strong> if the device is<br />
configured for DHCP. If the device is configured for static IP, then it must be manually reconfigured to DHCP<br />
to change the EBIPA IP address.<br />
The administrator sets an independent range for device bays and interconnect module bays using the<br />
<strong>Onboard</strong> <strong>Administrator</strong> EBIPA setup wizard. The first address in a range is assigned to the first bay and then<br />
consecutive bays through the range.<br />
For example, if you set the server bay EBIPA range starting from 16.100.226.21 to 16.100.226.36, then<br />
the iLO in Server bay #1 is assigned 16.100.226.21 and the iLO in Server bay #12 is assigned<br />
16.100.226.32, and the interconnect bay EBIPA range to 16.200.139.51 to 16.200.139.58. If you set the<br />
interconnect module port, then the interconnect bay #1 is set to 16.200.139.51 and the interconnect module<br />
management port in Interconnect bay #7 is set to 16.200.139.57.<br />
IMPORTANT: Do not use the 169.254.x.x range when configuring EBIPA assigned addresses as<br />
<strong>Onboard</strong> <strong>Administrator</strong> uses the same range for linked local addresses.<br />
First Time Setup Wizard 40


