1 The AVM ISDN-Controller B1 PCI v4.0 - VoipAndGo
1 The AVM ISDN-Controller B1 PCI v4.0 - VoipAndGo
1 The AVM ISDN-Controller B1 PCI v4.0 - VoipAndGo
You also want an ePaper? Increase the reach of your titles
YUMPU automatically turns print PDFs into web optimized ePapers that Google loves.
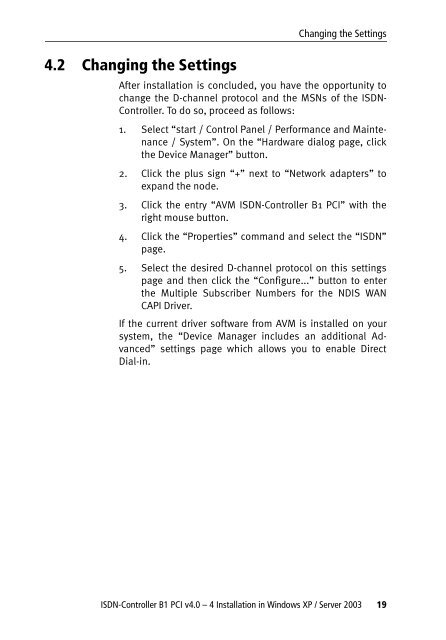
4.2 Changing the Settings<br />
Changing the Settings<br />
After installation is concluded, you have the opportunity to<br />
change the D-channel protocol and the MSNs of the <strong>ISDN</strong>-<br />
<strong>Controller</strong>. To do so, proceed as follows:<br />
1. Select “start / Control Panel / Performance and Maintenance<br />
/ System”. On the “Hardware dialog page, click<br />
the Device Manager” button.<br />
2. Click the plus sign “+” next to “Network adapters” to<br />
expand the node.<br />
3. Click the entry “<strong>AVM</strong> <strong>ISDN</strong>-<strong>Controller</strong> <strong>B1</strong> <strong>PCI</strong>” with the<br />
right mouse button.<br />
4. Click the “Properties” command and select the “<strong>ISDN</strong>”<br />
page.<br />
5. Select the desired D-channel protocol on this settings<br />
page and then click the “Configure...” button to enter<br />
the Multiple Subscriber Numbers for the NDIS WAN<br />
CAPI Driver.<br />
If the current driver software from <strong>AVM</strong> is installed on your<br />
system, the “Device Manager includes an additional Advanced”<br />
settings page which allows you to enable Direct<br />
Dial-in.<br />
<strong>ISDN</strong>-<strong>Controller</strong> <strong>B1</strong> <strong>PCI</strong> <strong>v4.0</strong> – 4 Installation in Windows XP / Server 2003 19


