1 The AVM ISDN-Controller B1 PCI v4.0 - VoipAndGo
1 The AVM ISDN-Controller B1 PCI v4.0 - VoipAndGo
1 The AVM ISDN-Controller B1 PCI v4.0 - VoipAndGo

Create successful ePaper yourself
Turn your PDF publications into a flip-book with our unique Google optimized e-Paper software.
<strong>ISDN</strong>-<strong>Controller</strong> <strong>B1</strong> <strong>PCI</strong> <strong>v4.0</strong> with CAPI for the CAPI Manager<br />
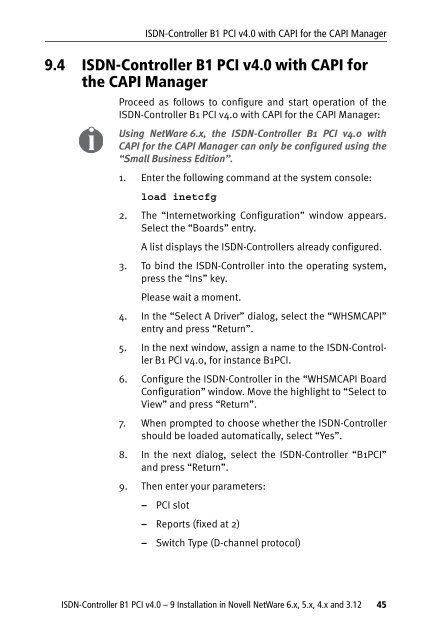
9.4 <strong>ISDN</strong>-<strong>Controller</strong> <strong>B1</strong> <strong>PCI</strong> <strong>v4.0</strong> with CAPI for<br />
the CAPI Manager<br />
Proceed as follows to configure and start operation of the<br />
<strong>ISDN</strong>-<strong>Controller</strong> <strong>B1</strong> <strong>PCI</strong> <strong>v4.0</strong> with CAPI for the CAPI Manager:<br />
Using NetWare 6.x, the <strong>ISDN</strong>-<strong>Controller</strong> <strong>B1</strong> <strong>PCI</strong> <strong>v4.0</strong> with<br />
CAPI for the CAPI Manager can only be configured using the<br />
“Small Business Edition”.<br />
1. Enter the following command at the system console:<br />
load inetcfg<br />
2. <strong>The</strong> “Internetworking Configuration” window appears.<br />
Select the “Boards” entry.<br />
A list displays the <strong>ISDN</strong>-<strong>Controller</strong>s already configured.<br />
3. To bind the <strong>ISDN</strong>-<strong>Controller</strong> into the operating system,<br />
press the “Ins” key.<br />
Please wait a moment.<br />
4. In the “Select A Driver” dialog, select the “WHSMCAPI”<br />
entry and press “Return”.<br />
5. In the next window, assign a name to the <strong>ISDN</strong>-<strong>Controller</strong><br />
<strong>B1</strong> <strong>PCI</strong> <strong>v4.0</strong>, for instance <strong>B1</strong><strong>PCI</strong>.<br />
6. Configure the <strong>ISDN</strong>-<strong>Controller</strong> in the “WHSMCAPI Board<br />
Configuration” window. Move the highlight to “Select to<br />
View” and press “Return”.<br />
7. When prompted to choose whether the <strong>ISDN</strong>-<strong>Controller</strong><br />
should be loaded automatically, select “Yes”.<br />
8. In the next dialog, select the <strong>ISDN</strong>-<strong>Controller</strong> “<strong>B1</strong><strong>PCI</strong>”<br />
and press “Return”.<br />
9. <strong>The</strong>n enter your parameters:<br />
– <strong>PCI</strong> slot<br />
– Reports (fixed at 2)<br />
– Switch Type (D-channel protocol)<br />
<strong>ISDN</strong>-<strong>Controller</strong> <strong>B1</strong> <strong>PCI</strong> <strong>v4.0</strong> – 9 Installation in Novell NetWare 6.x, 5.x, 4.x and 3.12 45