1 The AVM ISDN-Controller B1 PCI v4.0 - VoipAndGo
1 The AVM ISDN-Controller B1 PCI v4.0 - VoipAndGo
1 The AVM ISDN-Controller B1 PCI v4.0 - VoipAndGo
Create successful ePaper yourself
Turn your PDF publications into a flip-book with our unique Google optimized e-Paper software.
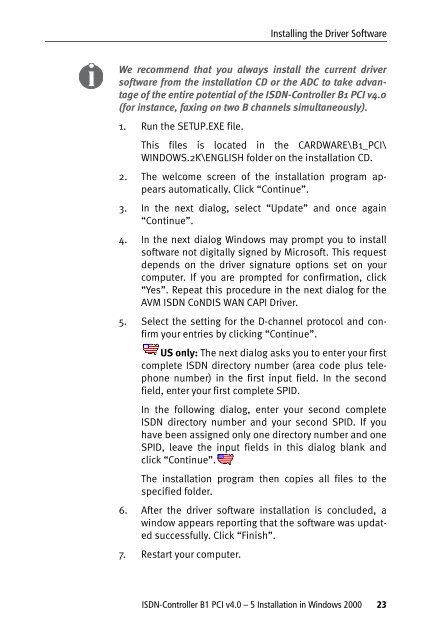
Installing the Driver Software<br />
We recommend that you always install the current driver<br />
software from the installation CD or the ADC to take advantage<br />
of the entire potential of the <strong>ISDN</strong>-<strong>Controller</strong> <strong>B1</strong> <strong>PCI</strong> <strong>v4.0</strong><br />
(for instance, faxing on two B channels simultaneously).<br />
1. Run the SETUP.EXE file.<br />
This files is located in the CARDWARE\<strong>B1</strong>_<strong>PCI</strong>\<br />
WINDOWS.2K\ENGLISH folder on the installation CD.<br />
2. <strong>The</strong> welcome screen of the installation program appears<br />
automatically. Click “Continue”.<br />
3. In the next dialog, select “Update” and once again<br />
“Continue”.<br />
4. In the next dialog Windows may prompt you to install<br />
software not digitally signed by Microsoft. This request<br />
depends on the driver signature options set on your<br />
computer. If you are prompted for confirmation, click<br />
“Yes”. Repeat this procedure in the next dialog for the<br />
<strong>AVM</strong> <strong>ISDN</strong> CoNDIS WAN CAPI Driver.<br />
5. Select the setting for the D-channel protocol and confirm<br />
your entries by clicking “Continue”.<br />
US only: <strong>The</strong> next dialog asks you to enter your first<br />
complete <strong>ISDN</strong> directory number (area code plus telephone<br />
number) in the first input field. In the second<br />
field, enter your first complete SPID.<br />
In the following dialog, enter your second complete<br />
<strong>ISDN</strong> directory number and your second SPID. If you<br />
have been assigned only one directory number and one<br />
SPID, leave the input fields in this dialog blank and<br />
click “Continue”.<br />
<strong>The</strong> installation program then copies all files to the<br />
specified folder.<br />
6. After the driver software installation is concluded, a<br />
window appears reporting that the software was updated<br />
successfully. Click “Finish”.<br />
7. Restart your computer.<br />
<strong>ISDN</strong>-<strong>Controller</strong> <strong>B1</strong> <strong>PCI</strong> <strong>v4.0</strong> – 5 Installation in Windows 2000 23


