1 The AVM ISDN-Controller B1 PCI v4.0 - VoipAndGo
1 The AVM ISDN-Controller B1 PCI v4.0 - VoipAndGo
1 The AVM ISDN-Controller B1 PCI v4.0 - VoipAndGo
You also want an ePaper? Increase the reach of your titles
YUMPU automatically turns print PDFs into web optimized ePapers that Google loves.
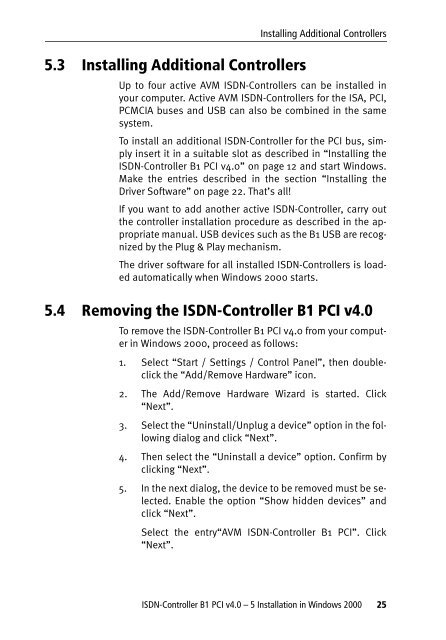
5.3 Installing Additional <strong>Controller</strong>s<br />
Installing Additional <strong>Controller</strong>s<br />
Up to four active <strong>AVM</strong> <strong>ISDN</strong>-<strong>Controller</strong>s can be installed in<br />
your computer. Active <strong>AVM</strong> <strong>ISDN</strong>-<strong>Controller</strong>s for the ISA, <strong>PCI</strong>,<br />
PCMCIA buses and USB can also be combined in the same<br />
system.<br />
To install an additional <strong>ISDN</strong>-<strong>Controller</strong> for the <strong>PCI</strong> bus, simply<br />
insert it in a suitable slot as described in “Installing the<br />
<strong>ISDN</strong>-<strong>Controller</strong> <strong>B1</strong> <strong>PCI</strong> <strong>v4.0</strong>” on page 12 and start Windows.<br />
Make the entries described in the section “Installing the<br />
Driver Software” on page 22. That’s all!<br />
If you want to add another active <strong>ISDN</strong>-<strong>Controller</strong>, carry out<br />
the controller installation procedure as described in the appropriate<br />
manual. USB devices such as the <strong>B1</strong> USB are recognized<br />
by the Plug & Play mechanism.<br />
<strong>The</strong> driver software for all installed <strong>ISDN</strong>-<strong>Controller</strong>s is loaded<br />
automatically when Windows 2000 starts.<br />
5.4 Removing the <strong>ISDN</strong>-<strong>Controller</strong> <strong>B1</strong> <strong>PCI</strong> <strong>v4.0</strong><br />
To remove the <strong>ISDN</strong>-<strong>Controller</strong> <strong>B1</strong> <strong>PCI</strong> <strong>v4.0</strong> from your computer<br />
in Windows 2000, proceed as follows:<br />
1. Select “Start / Settings / Control Panel”, then doubleclick<br />
the “Add/Remove Hardware” icon.<br />
2. <strong>The</strong> Add/Remove Hardware Wizard is started. Click<br />
“Next”.<br />
3. Select the “Uninstall/Unplug a device” option in the following<br />
dialog and click “Next”.<br />
4. <strong>The</strong>n select the “Uninstall a device” option. Confirm by<br />
clicking “Next”.<br />
5. In the next dialog, the device to be removed must be selected.<br />
Enable the option “Show hidden devices” and<br />
click “Next”.<br />
Select the entry“<strong>AVM</strong> <strong>ISDN</strong>-<strong>Controller</strong> <strong>B1</strong> <strong>PCI</strong>”. Click<br />
“Next”.<br />
<strong>ISDN</strong>-<strong>Controller</strong> <strong>B1</strong> <strong>PCI</strong> <strong>v4.0</strong> – 5 Installation in Windows 2000 25


