Wavelink Avalanche Site Edition Java Console User Guide
Wavelink Avalanche Site Edition Java Console User Guide
Wavelink Avalanche Site Edition Java Console User Guide
You also want an ePaper? Increase the reach of your titles
YUMPU automatically turns print PDFs into web optimized ePapers that Google loves.
Chapter 4: <strong>Avalanche</strong> <strong>Console</strong> 40<br />
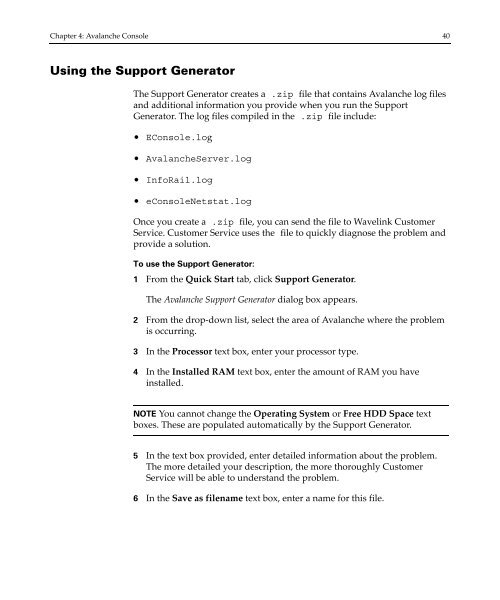
Using the Support Generator<br />
The Support Generator creates a .zip file that contains <strong>Avalanche</strong> log files<br />
and additional information you provide when you run the Support<br />
Generator. The log files compiled in the .zip file include:<br />
• E<strong>Console</strong>.log<br />
• <strong>Avalanche</strong>Server.log<br />
• InfoRail.log<br />
• e<strong>Console</strong>Netstat.log<br />
Once you create a .zip file, you can send the file to <strong>Wavelink</strong> Customer<br />
Service. Customer Service uses the file to quickly diagnose the problem and<br />
provide a solution.<br />
To use the Support Generator:<br />
1 From the Quick Start tab, click Support Generator.<br />
The <strong>Avalanche</strong> Support Generator dialog box appears.<br />
2 From the drop‐down list, select the area of <strong>Avalanche</strong> where the problem<br />
is occurring.<br />
3 In the Processor text box, enter your processor type.<br />
4 In the Installed RAM text box, enter the amount of RAM you have<br />
installed.<br />
NOTE You cannot change the Operating System or Free HDD Space text<br />
boxes. These are populated automatically by the Support Generator.<br />
5 In the text box provided, enter detailed information about the problem.<br />
The more detailed your description, the more thoroughly Customer<br />
Service will be able to understand the problem.<br />
6 In the Save as filename text box, enter a name for this file.


