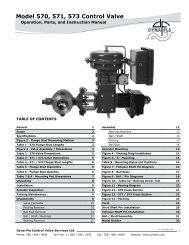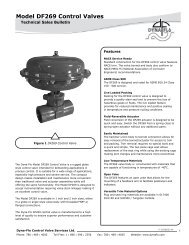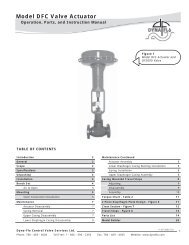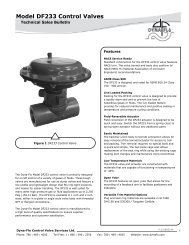
view user manual (pdf) - dyna-flo control valves
view user manual (pdf) - dyna-flo control valves
view user manual (pdf) - dyna-flo control valves

Create successful ePaper yourself
Turn your PDF publications into a flip-book with our unique Google optimized e-Paper software.
Design and Functional Principle<br />
2.5 Options modules<br />
2.5.1 Options modules in normal and intrinsically safe versions<br />
The options modules are protected and mechanically fixed by a module<br />
cover ((1), see figure 2-10, page 28 and figure 2-11, page 30).<br />
. NOTE<br />
The housing must be opened to install the options modules. The<br />
degree of protection IP65 is not guaranteed as long as the positioner is<br />
open.<br />
Opening the<br />
instrument<br />
To open the positioner, the four screws of the housing cover must be<br />
loosened with a Phillips screwdriver.<br />
Disconnect or isolate the power supply cables.<br />
Remove the module cover (1). To do this, the two screws (1.1) must be<br />
removed with a screwdriver.<br />
. NOTE<br />
To prevent premature wearing of the fixture by the self--tapping screws<br />
(1.1), the following method of mounting the module cover (1) has<br />
proven effective.<br />
1. Turn the screws counterclockwise until you feel them snap into the<br />
thread<br />
2. Tighten both screws carefully in clockwise direction<br />
J y -module<br />
Insert the J y -module (3) in bottom pcb rails of the container, establish<br />
the electrical connection with the enclosed ribbon cable (6).<br />
Alarm module<br />
Insert the alarm module (4) in the top pcb rails of the container,<br />
establish the electrical connection with the enclosed ribbon cable (5).<br />
SIA-module<br />
(Slot Initiator Alarm module) Proceed as follows for installation:<br />
1. Remove all the electrical connections from the basic electronics<br />
(2).<br />
2. Loosen the two fixing screws (2.1) of the basic electronics.<br />
3. Snap out the basic electronic board by carefully bending the four<br />
holders.<br />
4. Insert the SIA-module (7) from above up to the top pcb rail of the<br />
container.<br />
SIPART PS2 Manual<br />
A5E00074631-03<br />
25