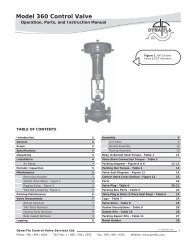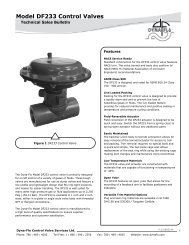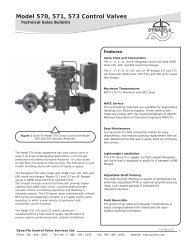
view user manual (pdf) - dyna-flo control valves
view user manual (pdf) - dyna-flo control valves
view user manual (pdf) - dyna-flo control valves

You also want an ePaper? Increase the reach of your titles
YUMPU automatically turns print PDFs into web optimized ePapers that Google loves.
Preparing for Operation<br />
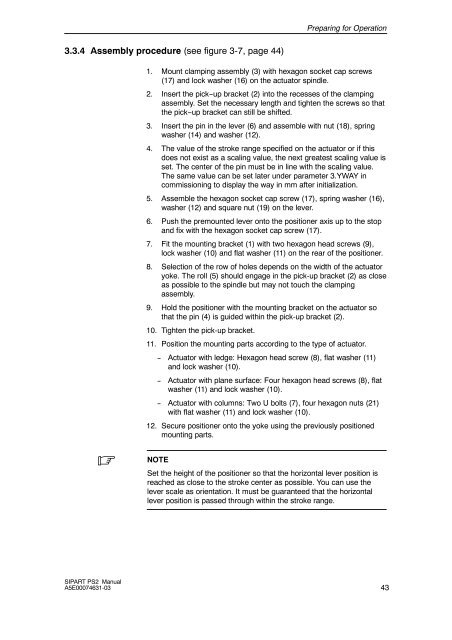
3.3.4 Assembly procedure (see figure 3-7, page 44)<br />
1. Mount clamping assembly (3) with hexagon socket cap screws<br />
(17) and lock washer (16) on the actuator spindle.<br />
2. Insert the pick--up bracket (2) into the recesses of the clamping<br />
assembly. Set the necessary length and tighten the screws so that<br />
the pick--up bracket can still be shifted.<br />
3. Insert the pin in the lever (6) and assemble with nut (18), spring<br />
washer (14) and washer (12).<br />
4. The value of the stroke range specified on the actuator or if this<br />
does not exist as a scaling value, the next greatest scaling value is<br />
set. The center of the pin must be in line with the scaling value.<br />
The same value can be set later under parameter 3.YWAY in<br />
commissioning to display the way in mm after initialization.<br />
5. Assemble the hexagon socket cap screw (17), spring washer (16),<br />
washer (12) and square nut (19) on the lever.<br />
6. Push the premounted lever onto the positioner axis up to the stop<br />
and fix with the hexagon socket cap screw (17).<br />
7. Fit the mounting bracket (1) with two hexagon head screws (9),<br />
lock washer (10) and flat washer (11) on the rear of the positioner.<br />
8. Selection of the row of holes depends on the width of the actuator<br />
yoke. The roll (5) should engage in the pick-up bracket (2) as close<br />
as possible to the spindle but may not touch the clamping<br />
assembly.<br />
9. Hold the positioner with the mounting bracket on the actuator so<br />
that the pin (4) is guided within the pick-up bracket (2).<br />
10. Tighten the pick-up bracket.<br />
11. Position the mounting parts according to the type of actuator.<br />
-- Actuator with ledge: Hexagon head screw (8), flat washer (11)<br />
and lock washer (10).<br />
-- Actuator with plane surface: Four hexagon head screws (8), flat<br />
washer (11) and lock washer (10).<br />
-- Actuator with columns: Two U bolts (7), four hexagon nuts (21)<br />
with flat washer (11) and lock washer (10).<br />
12. Secure positioner onto the yoke using the previously positioned<br />
mounting parts.<br />
. NOTE<br />
Set the height of the positioner so that the horizontal lever position is<br />
reached as close to the stroke center as possible. You can use the<br />
lever scale as orientation. It must be guaranteed that the horizontal<br />
lever position is passed through within the stroke range.<br />
SIPART PS2 Manual<br />
A5E00074631-03<br />
43