Digital Servo Amplifier SERVOSTAR 400 - BIBUS SK, sro
Digital Servo Amplifier SERVOSTAR 400 - BIBUS SK, sro
Digital Servo Amplifier SERVOSTAR 400 - BIBUS SK, sro
You also want an ePaper? Increase the reach of your titles
YUMPU automatically turns print PDFs into web optimized ePapers that Google loves.
Installation 07/03 Kollmorgen<br />
2.3 Wiring<br />
Only professional staff who are qualified in electrical engineering are allowed to install the<br />
servo amplifier.<br />
The installation procedure is described as an example. A different procedure may be appropriate or<br />
necessary, depending on the application of the equipment.<br />
We provide further know-how through training courses (on request).<br />
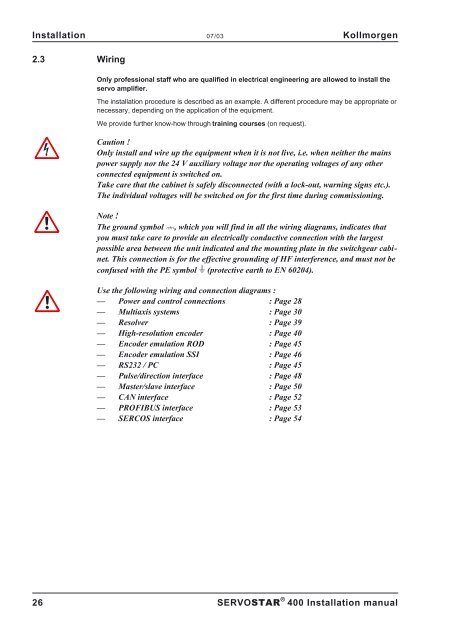
Caution !<br />
Only install and wire up the equipment when it is not live, i.e. when neither the mains<br />
power supply nor the 24 V auxiliary voltage nor the operating voltages of any other<br />
connected equipment is switched on.<br />
Take care that the cabinet is safely disconnected (with a lock-out, warning signs etc.).<br />
The individual voltages will be switched on for the first time during commissioning.<br />
Note !<br />
The ground symbol �, which you will find in all the wiring diagrams, indicates that<br />
you must take care to provide an electrically conductive connection with the largest<br />
possible area between the unit indicated and the mounting plate in the switchgear cabinet.<br />
This connection is for the effective grounding of HF interference, and must not be<br />
confused with the PE symbol � (protective earth to EN 60204).<br />
Use the following wiring and connection diagrams :<br />
— Power and control connections : Page 28<br />
— Multiaxis systems : Page 30<br />
— Resolver : Page 39<br />
— High-resolution encoder : Page 40<br />
— Encoder emulation ROD : Page 45<br />
— Encoder emulation SSI : Page 46<br />
— RS232 / PC : Page 45<br />
— Pulse/direction interface : Page 48<br />
— Master/slave interface : Page 50<br />
— CAN interface : Page 52<br />
— PROFIBUS interface : Page 53<br />
— SERCOS interface : Page 54<br />
26 <strong>SERVOSTAR</strong> ® <strong>400</strong> Installation manual


