Operating Instructions - Panasonic Business
Operating Instructions - Panasonic Business
Operating Instructions - Panasonic Business

Create successful ePaper yourself
Turn your PDF publications into a flip-book with our unique Google optimized e-Paper software.
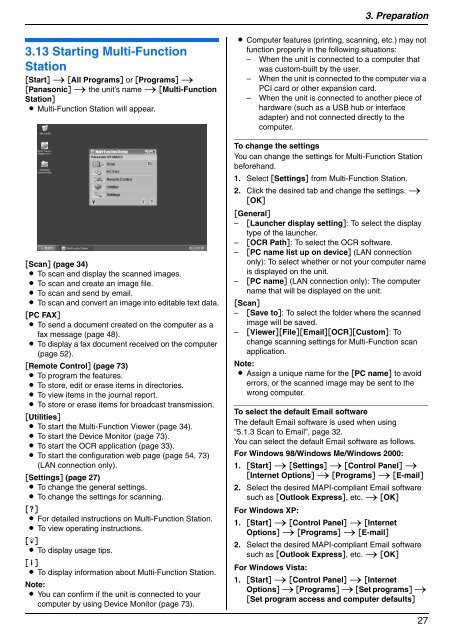
3.13 Starting Multi-Function<br />
Station<br />
[Start] i [All Programs] or [Programs] i<br />
[<strong>Panasonic</strong>] i the unit’s name i [Multi-Function<br />
Station]<br />
L Multi-Function Station will appear.<br />
[Scan] (page 34)<br />
L To scan and display the scanned images.<br />
L To scan and create an image file.<br />
L To scan and send by email.<br />
L To scan and convert an image into editable text data.<br />
[PC FAX]<br />
L To send a document created on the computer as a<br />
fax message (page 48).<br />
L To display a fax document received on the computer<br />
(page 52).<br />
[Remote Control] (page 73)<br />
L To program the features.<br />
L To store, edit or erase items in directories.<br />
L To view items in the journal report.<br />
L To store or erase items for broadcast transmission.<br />
[Utilities]<br />
L To start the Multi-Function Viewer (page 34).<br />
L To start the Device Monitor (page 73).<br />
L To start the OCR application (page 33).<br />
L To start the configuration web page (page 54, 73)<br />
(LAN connection only).<br />
[Settings] (page 27)<br />
L To change the general settings.<br />
L To change the settings for scanning.<br />
[o]<br />
L For detailed instructions on Multi-Function Station.<br />
L To view operating instructions.<br />
[p]<br />
L To display usage tips.<br />
[n]<br />
L To display information about Multi-Function Station.<br />
Note:<br />
L You can confirm if the unit is connected to your<br />
computer by using Device Monitor (page 73).<br />
3. Preparation<br />
L Computer features (printing, scanning, etc.) may not<br />
function properly in the following situations:<br />
– When the unit is connected to a computer that<br />
was custom-built by the user.<br />
– When the unit is connected to the computer via a<br />
PCI card or other expansion card.<br />
– When the unit is connected to another piece of<br />
hardware (such as a USB hub or interface<br />
adapter) and not connected directly to the<br />
computer.<br />
To change the settings<br />
You can change the settings for Multi-Function Station<br />
beforehand.<br />
1. Select [Settings] from Multi-Function Station.<br />
2. Click the desired tab and change the settings. i<br />
[OK]<br />
[General]<br />
– [Launcher display setting]: To select the display<br />
type of the launcher.<br />
– [OCR Path]: To select the OCR software.<br />
– [PC name list up on device] (LAN connection<br />
only): To select whether or not your computer name<br />
is displayed on the unit.<br />
– [PC name] (LAN connection only): The computer<br />
name that will be displayed on the unit.<br />
[Scan]<br />
– [Save to]: To select the folder where the scanned<br />
image will be saved.<br />
– [Viewer][File][Email][OCR][Custom]: To<br />
change scanning settings for Multi-Function scan<br />
application.<br />
Note:<br />
L Assign a unique name for the [PC name] to avoid<br />
errors, or the scanned image may be sent to the<br />
wrong computer.<br />
To select the default Email software<br />
The default Email software is used when using<br />
“5.1.3 Scan to Email”, page 32.<br />
You can select the default Email software as follows.<br />
For Windows 98/Windows Me/Windows 2000:<br />
1. [Start] i [Settings] i [Control Panel] i<br />
[Internet Options] i [Programs] i [E-mail]<br />
2. Select the desired MAPI-compliant Email software<br />
such as [Outlook Express], etc. i [OK]<br />
For Windows XP:<br />
1. [Start] i [Control Panel] i [Internet<br />
Options] i [Programs] i [E-mail]<br />
2. Select the desired MAPI-compliant Email software<br />
such as [Outlook Express], etc. i [OK]<br />
For Windows Vista:<br />
1. [Start] i [Control Panel] i [Internet<br />
Options] i [Programs] i [Set programs] i<br />
[Set program access and computer defaults]<br />
27