Operating Instructions - Panasonic Business
Operating Instructions - Panasonic Business
Operating Instructions - Panasonic Business

You also want an ePaper? Increase the reach of your titles
YUMPU automatically turns print PDFs into web optimized ePapers that Google loves.
4Printer Printer<br />
4.1 Printing from Windows<br />
applications<br />
You can print a file created in a Windows application. For<br />
example, to print from WordPad, proceed as follows:<br />
1 Open the document you want to print.<br />
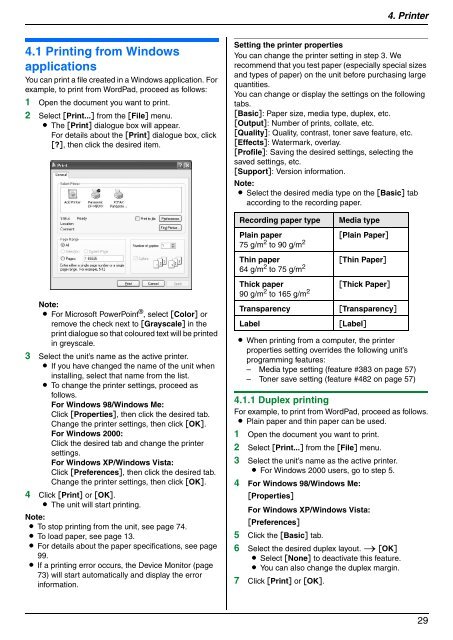
2 Select [Print...] from the [File] menu.<br />
L The [Print] dialogue box will appear.<br />
For details about the [Print] dialogue box, click<br />
[?], then click the desired item.<br />
Note:<br />
L For Microsoft PowerPoint ® , select [Color] or<br />
remove the check next to [Grayscale] in the<br />
print dialogue so that coloured text will be printed<br />
in greyscale.<br />
3 Select the unit’s name as the active printer.<br />
L If you have changed the name of the unit when<br />
installing, select that name from the list.<br />
L To change the printer settings, proceed as<br />
follows.<br />
For Windows 98/Windows Me:<br />
Click [Properties], then click the desired tab.<br />
Change the printer settings, then click [OK].<br />
For Windows 2000:<br />
Click the desired tab and change the printer<br />
settings.<br />
For Windows XP/Windows Vista:<br />
Click [Preferences], then click the desired tab.<br />
Change the printer settings, then click [OK].<br />
4 Click [Print] or [OK].<br />
L The unit will start printing.<br />
Note:<br />
L To stop printing from the unit, see page 74.<br />
L To load paper, see page 13.<br />
L For details about the paper specifications, see page<br />
99.<br />
L If a printing error occurs, the Device Monitor (page<br />
73) will start automatically and display the error<br />
information.<br />
4. Printer<br />
Setting the printer properties<br />
You can change the printer setting in step 3. We<br />
recommend that you test paper (especially special sizes<br />
and types of paper) on the unit before purchasing large<br />
quantities.<br />
You can change or display the settings on the following<br />
tabs.<br />
[Basic]: Paper size, media type, duplex, etc.<br />
[Output]: Number of prints, collate, etc.<br />
[Quality]: Quality, contrast, toner save feature, etc.<br />
[Effects]: Watermark, overlay.<br />
[Profile]: Saving the desired settings, selecting the<br />
saved settings, etc.<br />
[Support]: Version information.<br />
Note:<br />
L Select the desired media type on the [Basic] tab<br />
according to the recording paper.<br />
Recording paper type Media type<br />
Plain paper<br />
75 g/m 2 to 90 g/m 2<br />
Thin paper<br />
64 g/m 2 to 75 g/m 2<br />
Thick paper<br />
90 g/m 2 to 165 g/m 2<br />
[Plain Paper]<br />
[Thin Paper]<br />
[Thick Paper]<br />
Transparency [Transparency]<br />
Label [Label]<br />
L When printing from a computer, the printer<br />
properties setting overrides the following unit’s<br />
programming features:<br />
– Media type setting (feature #383 on page 57)<br />
– Toner save setting (feature #482 on page 57)<br />
4.1.1 Duplex printing<br />
For example, to print from WordPad, proceed as follows.<br />
L Plain paper and thin paper can be used.<br />
1 Open the document you want to print.<br />
2 Select [Print...] from the [File] menu.<br />
3 Select the unit’s name as the active printer.<br />
L For Windows 2000 users, go to step 5.<br />
4 For Windows 98/Windows Me:<br />
[Properties]<br />
For Windows XP/Windows Vista:<br />
[Preferences]<br />
5 Click the [Basic] tab.<br />
6 Select the desired duplex layout. i [OK]<br />
L Select [None] to deactivate this feature.<br />
L You can also change the duplex margin.<br />
7 Click [Print] or [OK].<br />
29