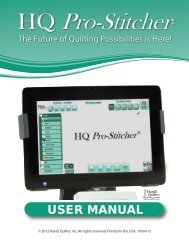
HQ Pro-Stitcher User Manual - Handi Quilter
HQ Pro-Stitcher User Manual - Handi Quilter
HQ Pro-Stitcher User Manual - Handi Quilter
You also want an ePaper? Increase the reach of your titles
YUMPU automatically turns print PDFs into web optimized ePapers that Google loves.
Getting Started<br />
Setting up the <strong>HQ</strong> <strong>Pro</strong>-<strong>Stitcher</strong><br />
The <strong>HQ</strong> <strong>Pro</strong>-<strong>Stitcher</strong> should be installed as outlined<br />
in the Installation Instructions that were included<br />
with this system.<br />
USB Flash Drive<br />
A USB flash memory stick is included with the <strong>HQ</strong><br />
<strong>Pro</strong>-<strong>Stitcher</strong> and is pre-loaded with more than 180<br />
patterns. Plug this flash drive into one of the USB<br />
ports located on the left-hand side or the bottom of<br />
the <strong>HQ</strong> <strong>Pro</strong>-<strong>Stitcher</strong> computer (Figure 1). The computer<br />
may need to be tilted back to access the lower<br />
USB port. It is not necessary to power down the <strong>HQ</strong><br />
<strong>Pro</strong>-<strong>Stitcher</strong> to install or remove the USB flash drive,<br />
but care should be taken not to remove the flash<br />
drive while the system is saving to/or loading from<br />
the drive.<br />
Stylus<br />
Figure 1<br />
A stylus is located on the lower right-hand corner of<br />
the screen. This may be used for more precise touch<br />
screen control (Figure 2).<br />
Figure 1<br />
Page 32<br />
<strong>HQ</strong> <strong>Pro</strong>-<strong>Stitcher</strong> <strong>User</strong> <strong>Manual</strong>


