IntelliStation E Pro User Guide Professional ... - FTP Directory Listing
IntelliStation E Pro User Guide Professional ... - FTP Directory Listing
IntelliStation E Pro User Guide Professional ... - FTP Directory Listing
Create successful ePaper yourself
Turn your PDF publications into a flip-book with our unique Google optimized e-Paper software.
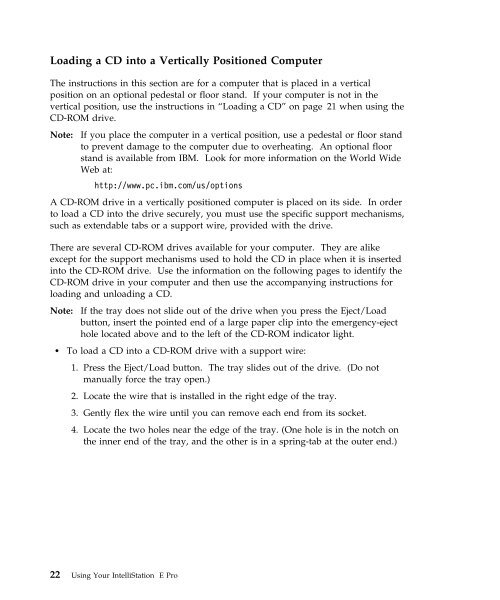
Loading a CD into a Vertically Positioned Computer<br />
The instructions in this section are for a computer that is placed in a vertical<br />
position on an optional pedestal or floor stand. If your computer is not in the<br />
vertical position, use the instructions in “Loading a CD” on page 21 when using the<br />
CD-ROM drive.<br />
Note: If you place the computer in a vertical position, use a pedestal or floor stand<br />
to prevent damage to the computer due to overheating. An optional floor<br />
stand is available from IBM. Look for more information on the World Wide<br />
Web at:<br />
http://www.pc.ibm.com/us/options<br />
A CD-ROM drive in a vertically positioned computer is placed on its side. In order<br />
to load a CD into the drive securely, you must use the specific support mechanisms,<br />
such as extendable tabs or a support wire, provided with the drive.<br />
There are several CD-ROM drives available for your computer. They are alike<br />
except for the support mechanisms used to hold the CD in place when it is inserted<br />
into the CD-ROM drive. Use the information on the following pages to identify the<br />
CD-ROM drive in your computer and then use the accompanying instructions for<br />
loading and unloading a CD.<br />
Note: If the tray does not slide out of the drive when you press the Eject/Load<br />
button, insert the pointed end of a large paper clip into the emergency-eject<br />
hole located above and to the left of the CD-ROM indicator light.<br />
� To load a CD into a CD-ROM drive with a support wire:<br />
1. Press the Eject/Load button. The tray slides out of the drive. (Do not<br />
manually force the tray open.)<br />
2. Locate the wire that is installed in the right edge of the tray.<br />
3. Gently flex the wire until you can remove each end from its socket.<br />
4. Locate the two holes near the edge of the tray. (One hole is in the notch on<br />
the inner end of the tray, and the other is in a spring-tab at the outer end.)<br />
22 Using Your <strong>IntelliStation</strong> E <strong>Pro</strong>


