User Manual - Hasselblad.jp
User Manual - Hasselblad.jp
User Manual - Hasselblad.jp
Create successful ePaper yourself
Turn your PDF publications into a flip-book with our unique Google optimized e-Paper software.
Note that you can set the camera to filter by approval status as you browse, which<br />
means that some images may be hidden (though they are still there). See “Browsing<br />
by Approval Status”, below, for details about how to work with the filter.<br />
Be careful when assigning red status because red images may be deleted if the current<br />
storage medium becomes full.<br />
Browsing by approval status<br />
You can set the camera to browse by approval status, which means, for example, that you<br />
will see only green-status images as you browse a batch (or both green and yellow, or only<br />
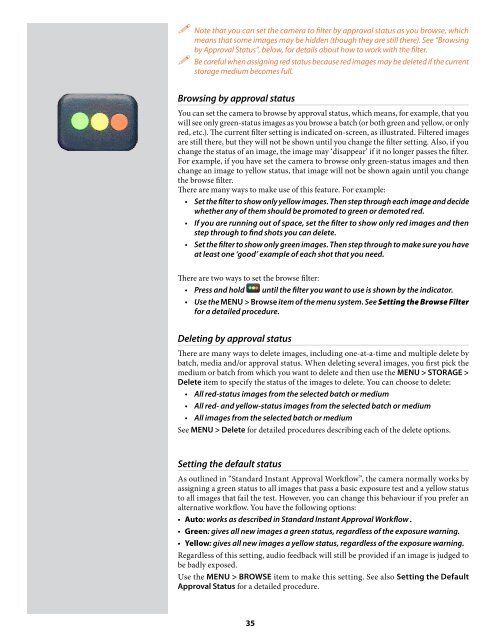
red, etc.). The current filter setting is indicated on-screen, as illustrated. Filtered images<br />
are still there, but they will not be shown until you change the filter setting. Also, if you<br />
change the status of an image, the image may ‘disappear’ if it no longer passes the filter.<br />
For example, if you have set the camera to browse only green-status images and then<br />
change an image to yellow status, that image will not be shown again until you change<br />
the browse filter.<br />
There are many ways to make use of this feature. For example:<br />
• Set the filter to show only yellow images. Then step through each image and decide<br />
whether any of them should be promoted to green or demoted red.<br />
• If you are running out of space, set the filter to show only red images and then<br />
step through to find shots you can delete.<br />
• Set the filter to show only green images. Then step through to make sure you have<br />
at least one ‘good’ example of each shot that you need.<br />
There are two ways to set the browse filter:<br />
• Press and hold until the filter you want to use is shown by the indicator.<br />
• Use the MENU > Browse item of the menu system. See Setting the Browse Filter<br />
for a detailed procedure.<br />
Deleting by approval status<br />
There are many ways to delete images, including one-at-a-time and multiple delete by<br />
batch, media and/or approval status. When deleting several images, you first pick the<br />
medium or batch from which you want to delete and then use the MENU > STORAGE ><br />
Delete item to specify the status of the images to delete. You can choose to delete:<br />
• All red-status images from the selected batch or medium<br />
• All red- and yellow-status images from the selected batch or medium<br />
• All images from the selected batch or medium<br />
See MENU > Delete for detailed procedures describing each of the delete options.<br />
Setting the default status<br />
As outlined in “Standard Instant Approval Workflow”, the camera normally works by<br />
assigning a green status to all images that pass a basic exposure test and a yellow status<br />
to all images that fail the test. However, you can change this behaviour if you prefer an<br />
alternative workflow. You have the following options:<br />
• Auto: works as described in Standard Instant Approval Workflow .<br />
• Green: gives all new images a green status, regardless of the exposure warning.<br />
• Yellow: gives all new images a yellow status, regardless of the exposure warning.<br />
Regardless of this setting, audio feedback will still be provided if an image is judged to<br />
be badly exposed.<br />
Use the MENU > BROWSE item to make this setting. See also Setting the Default<br />
Approval Status for a detailed procedure.<br />
35


