User Manual - Hasselblad.jp
User Manual - Hasselblad.jp
User Manual - Hasselblad.jp

Create successful ePaper yourself
Turn your PDF publications into a flip-book with our unique Google optimized e-Paper software.
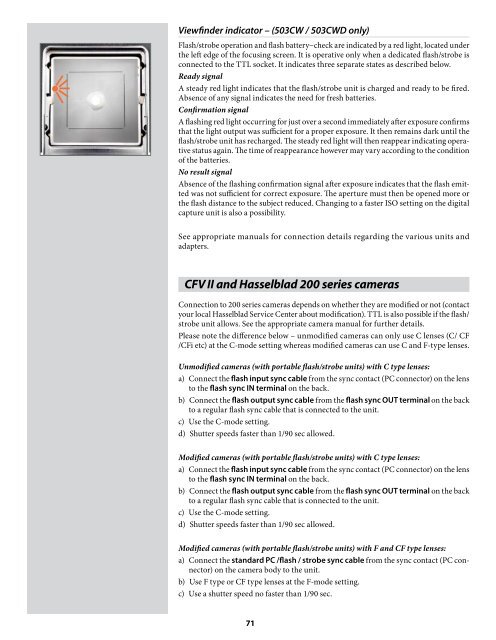
Viewfinder indicator – (503CW / 503CWD only)<br />
Flash/strobe operation and flash battery−check are indicated by a red light, located under<br />
the left edge of the focusing screen. It is operative only when a dedicated flash/strobe is<br />
connected to the TTL socket. It indicates three separate states as described below.<br />
Ready signal<br />
A steady red light indicates that the flash/strobe unit is charged and ready to be fired.<br />
Absence of any signal indicates the need for fresh batteries.<br />
Confirmation signal<br />
A flashing red light occurring for just over a second immediately after exposure confirms<br />
that the light output was sufficient for a proper exposure. It then remains dark until the<br />
flash/strobe unit has recharged. The steady red light will then reappear indicating operative<br />
status again. The time of reappearance however may vary according to the condition<br />
of the batteries.<br />
No result signal<br />
Absence of the flashing confirmation signal after exposure indicates that the flash emitted<br />
was not sufficient for correct exposure. The aperture must then be opened more or<br />
the flash distance to the subject reduced. Changing to a faster ISO setting on the digital<br />
capture unit is also a possibility.<br />
See appropriate manuals for connection details regarding the various units and<br />
adapters.<br />
CFV II and <strong>Hasselblad</strong> 200 series cameras<br />
Connection to 200 series cameras depends on whether they are modified or not (contact<br />
your local <strong>Hasselblad</strong> Service Center about modification). TTL is also possible if the flash/<br />
strobe unit allows. See the appropriate camera manual for further details.<br />
Please note the difference below – unmodified cameras can only use C lenses (C/ CF<br />
/CFi etc) at the C-mode setting whereas modified cameras can use C and F-type lenses.<br />
Unmodified cameras (with portable flash/strobe units) with C type lenses:<br />
a) Connect the flash input sync cable from the sync contact (PC connector) on the lens<br />
to the flash sync IN terminal on the back.<br />
b) Connect the flash output sync cable from the flash sync OUT terminal on the back<br />
to a regular flash sync cable that is connected to the unit.<br />
c) Use the C-mode setting.<br />
d) Shutter speeds faster than 1/90 sec allowed.<br />
Modified cameras (with portable flash/strobe units) with C type lenses:<br />
a) Connect the flash input sync cable from the sync contact (PC connector) on the lens<br />
to the flash sync IN terminal on the back.<br />
b) Connect the flash output sync cable from the flash sync OUT terminal on the back<br />
to a regular flash sync cable that is connected to the unit.<br />
c) Use the C-mode setting.<br />
d) Shutter speeds faster than 1/90 sec allowed.<br />
Modified cameras (with portable flash/strobe units) with F and CF type lenses:<br />
a) Connect the standard PC /flash / strobe sync cable from the sync contact (PC connector)<br />
on the camera body to the unit.<br />
b) Use F type or CF type lenses at the F-mode setting.<br />
c) Use a shutter speed no faster than 1/90 sec.<br />
71