User Manual - Hasselblad.jp
User Manual - Hasselblad.jp
User Manual - Hasselblad.jp

Create successful ePaper yourself
Turn your PDF publications into a flip-book with our unique Google optimized e-Paper software.
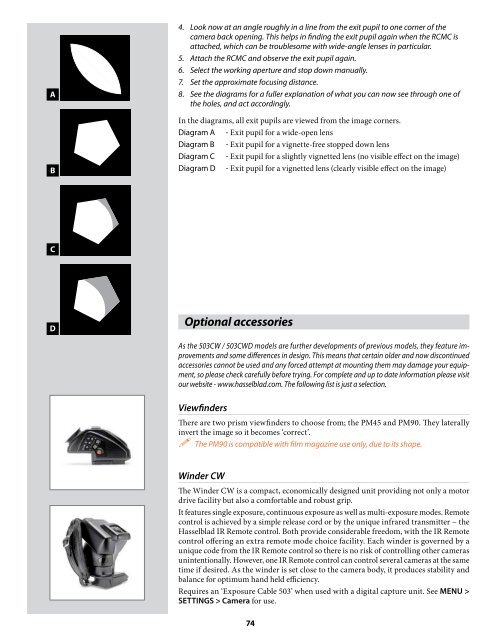
A<br />
B<br />
4. Look now at an angle roughly in a line from the exit pupil to one corner of the<br />
camera back opening. This helps in finding the exit pupil again when the RCMC is<br />
attached, which can be troublesome with wide-angle lenses in particular.<br />
5. Attach the RCMC and observe the exit pupil again.<br />
6. Select the working aperture and stop down manually.<br />
7. Set the approximate focusing distance.<br />
8. See the diagrams for a fuller explanation of what you can now see through one of<br />
the holes, and act accordingly.<br />
In the diagrams, all exit pupils are viewed from the image corners.<br />
Diagram A - Exit pupil for a wide-open lens<br />
Diagram B - Exit pupil for a vignette-free stopped down lens<br />
Diagram C - Exit pupil for a slightly vignetted lens (no visible effect on the image)<br />
Diagram D - Exit pupil for a vignetted lens (clearly visible effect on the image)<br />
C<br />
D<br />
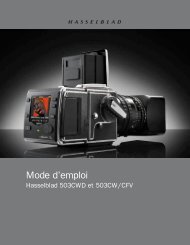
Optional accessories<br />
As the 503CW / 503CWD models are further developments of previous models, they feature improvements<br />
and some differences in design. This means that certain older and now discontinued<br />
accessories cannot be used and any forced attempt at mounting them may damage your equipment,<br />
so please check carefully before trying. For complete and up to date information please visit<br />
our website - www.hasselblad.com. The following list is just a selection.<br />
Viewfinders<br />
There are two prism viewfinders to choose from; the PM45 and PM90. They laterally<br />
invert the image so it becomes ‘correct’.<br />
The PM90 is compatible with film magazine use only, due to its shape.<br />
Winder CW<br />
The Winder CW is a compact, economically designed unit providing not only a motor<br />
drive facility but also a comfortable and robust grip.<br />
It features single exposure, continuous exposure as well as multi-exposure modes. Remote<br />
control is achieved by a simple release cord or by the unique infrared transmitter − the<br />
<strong>Hasselblad</strong> IR Remote control. Both provide considerable freedom, with the IR Remote<br />
control offering an extra remote mode choice facility. Each winder is governed by a<br />
unique code from the IR Remote control so there is no risk of controlling other cameras<br />
unintentionally. However, one IR Remote control can control several cameras at the same<br />
time if desired. As the winder is set close to the camera body, it produces stability and<br />
balance for optimum hand held efficiency.<br />
Requires an ‘Exposure Cable 503’ when used with a digital capture unit. See MENU ><br />
SETTINGS > Camera for use.<br />
74