TO LORD
You also want an ePaper? Increase the reach of your titles
YUMPU automatically turns print PDFs into web optimized ePapers that Google loves.
A<br />
Reflector<br />
to ^spefld,<br />
Tufcold<br />
Reflectors<br />
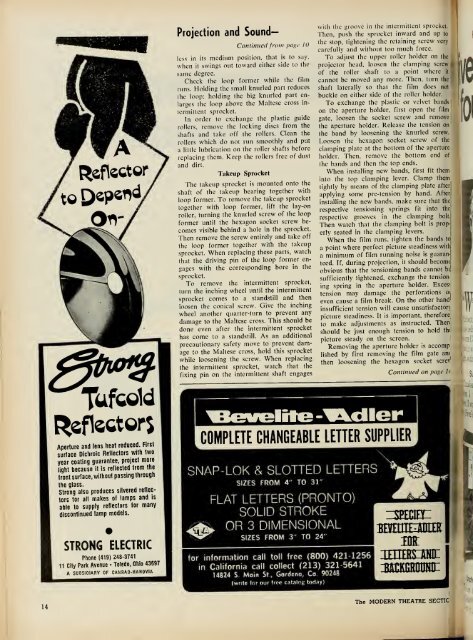
Projection and Sound—<br />
Continued from page 10<br />
less in its medium position, that is to say,<br />
when it swings out toward either side to the<br />
same degree.<br />
Check the loop former while the film<br />
runs. Holding the small knurled part reduces<br />
the loop; holding the big knurled part enlarges<br />
the loop above the Maltese cross intermittent<br />
sprocket.<br />
In order to exchange the plastic guide<br />
rollers, remove the locking discs from the<br />
shafts and take off the rollers. Clean the<br />
rollers which do not run smoothly and put<br />
lubrication on the roller shafts before<br />
a little<br />
replacing them. Keep the rollers free of dust<br />
and dirt.<br />
Takeup Sprocket<br />
The takeup sprocket is mounted onto the<br />
shaft of the takeup bearing together with<br />
loop former. To remove the takeup sprocket<br />
together with loop former, lift the lay-on<br />
roller, turning the knurled screw of the loop<br />
former until the hexagon socket screw becomes<br />
visible behind a hole in the sprocket.<br />
Then remove the screw entirely and take off<br />
the loop former together with the takeup<br />
sprocket. When replacing these parts, watch<br />
that the driving pin of the loop former engages<br />
with the corresponding bore in the<br />
sprocket.<br />
To remove the intermittent sprocket,<br />
turn the inching wheel until the intermittent<br />
sprocket comes to a standstill and then<br />
loosen the conical screw. Give the inching<br />
wheel another quarter-turn to prevent any<br />
damage to the Maltese cross. This should be<br />
done even after the intermittent sprocket<br />
has come to a standstill. As an additional<br />
precautionary safety move to prevent damage<br />
to the Maltese cross, hold this sprocket<br />
while loosening the screw. When replacing<br />
the intermittent sprocket, watch that the<br />
fixing pin on the intermittent shaft engages<br />
with the groove in the intermittent sprocket.<br />
Then, push the sprocket inward and up to<br />
the stop,<br />
tightening the retaining screw very<br />
carefully and without too much force.<br />
To adjust the upper roller holder on the<br />
projector head, loosen the clamping screw<br />
of the roller shaft to a point where it<br />
cannot be moved any more. Then, turn the<br />
shaft laterally so that the film does not<br />
buckle on either side of the roller holder.<br />
To exchange the plastic or velvet bands<br />
on the aperture holder, first open the film<br />
gate, loosen the socket screw and remove<br />
the aperture holder. Release the tension on<br />
the band by loosening the knurled screw.<br />
Loosen the hexagon socket screw of the<br />
clamping plate at the bottom of the aperture<br />
holder. Then, remove the bottom end of<br />
the bands and then the top ends.<br />
When installing new bands, first fit them<br />
into the top clamping lever. Clamp them<br />
tightly by means of the clamping plate after<br />
applying some pre-tension by hand. After<br />
installing the new bands, make sure that the<br />
respective tensioning springs fit into the<br />
respective grooves in the clamping bolt<br />
Then watch that the clamping bolt is prop<br />
erly seated in the clamping levers.<br />
When the film runs, tighten the bands to<br />
a point where perfect picture steadiness with<br />
a minimum of film running noise is guaran<br />
teed. If, during projection, it should become<br />
obvious that the tensioning bands cannot be<br />
sufficiently tightened, exchange the tensioning<br />
spring in the aperture holder. Excess<br />
tension may damage the perforations oi<br />
1<br />
even cause a film break. On the other hand<br />
insufficient tension will cause unsatisfactory<br />
picture steadiness. It is important, therefore<br />
to make adjustments as instructed. Then<br />
should be just enough tension to hold thi<br />
picture steady on the screen.<br />
Removing the aperture holder is accomp<br />
lished by first removing the film gate an<<br />
then loosening the hexagon socket screv<br />
dler<br />
Continued on page U<br />
Aperture and lens heat reduced. First<br />
surface Dichroic Reflectors with two<br />
year coating guarantee, project more<br />
light because it is reflected from the<br />
front surface, without passing through<br />
the glass.<br />
Strong also produces silvered reflectors<br />
for all makes of lamps and is<br />
able to supply reflectors for many<br />
discontinued lamp models.<br />
•<br />
STRONG ELECTRIC<br />
Phone (419) 248-3741<br />
11 City Park Avenue • Toledo, Ohio 43697<br />
A SUBSIDIARY OF CANRAD-HAHOVIA<br />
SNAP-LOK & SLOTTED LETTERS<br />
SIZES FROM 4" <strong>TO</strong> 31"<br />
a^<br />
FLAT LETTERS (PRON<strong>TO</strong>)<br />
SOLID STROKE<br />
OR 3 DIMENSIONAL<br />
SIZES FROM 3" <strong>TO</strong> 24"<br />
in California call collect (213) 321-5641<br />
14824 S. Main St., Gardena, Co 90248<br />
(write for our free catalog today)<br />
the:<br />
SMHMU MINI<br />
14<br />
The MODERN THEATRE SECTIC<br />
I


