


You also want an ePaper? Increase the reach of your titles
YUMPU automatically turns print PDFs into web optimized ePapers that Google loves.
howto » arduino masterclass<br />
Build a Wi-Fi internet<br />
clock – Part 1<br />
Darren Yates introduces a new microcontroller board<br />
with built-in Wi-Fi and shows how to make a Wi-Fi clock<br />
using Network Time Protocol in this two-part mini-series.<br />
The ESP8266 Wi-Fi module<br />
from Espressif Systems has<br />
revolutionised the maker<br />
community and made it<br />
possible to build and code your own<br />
Internet of Things (IoT) gadgets with<br />
comparative ease. We’ve covered this<br />
module previously in <strong>APC</strong>, connecting<br />
it to an Arduino Uno.<br />
However, the ESP8266 market has<br />
matured since then and you can now not<br />
only purchased dedicated ESP8266<br />
Wi-Fi development boards from around<br />
$5, you can also program them directly<br />
from the Arduino IDE, no Arduino<br />
board required.<br />
NODEMCU DEV KIT<br />
Among the raft of ESP8266 modules,<br />
the NodeMCU Development Kit is one<br />
of the most popular, combining full<br />
Arduino IDE connectivity via MicroUSB<br />
port with code access to the ESP8266<br />
internal chip architecture. The<br />
ESP8266 is a full-stack 802.11b/g/n<br />
Wi-Fi module, powered by an 80MHz<br />
Tensilica LX106 32-bit microcontroller,<br />
80KB of RAM and up to 4MB of flash<br />
storage. You’ll find them on eBay for<br />
around $5.<br />
SETTING UP THE IDE<br />
We’ve got too much to cover for just<br />
a single story this month, so we’re<br />
covering the basics of getting the<br />
NodeMCU board up and running in the<br />
Arduino IDE this issue, and looking at<br />
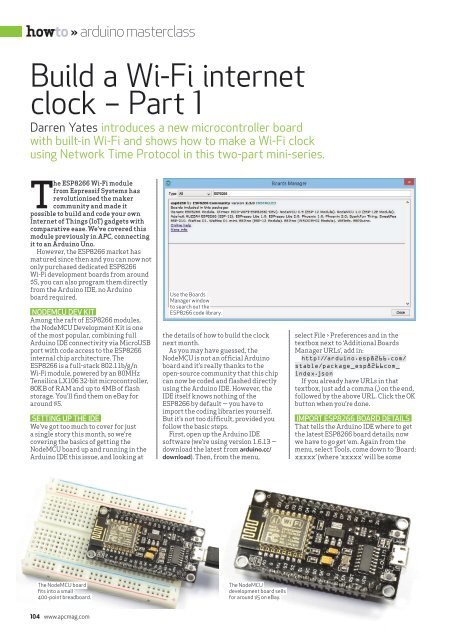
Use the Boards<br />
Manager window<br />
to search out the<br />
ESP8266 code library.<br />
the details of how to build the clock<br />
next month.<br />
As you may have guessed, the<br />
NodeMCU is not an official Arduino<br />
board and it’s really thanks to the<br />
open-source community that this chip<br />
can now be coded and flashed directly<br />
using the Arduino IDE. However, the<br />
IDE itself knows nothing of the<br />
ESP8266 by default — you have to<br />
import the coding libraries yourself.<br />
But it’s not too difficult, provided you<br />
follow the basic steps.<br />
First, open up the Arduino IDE<br />
software (we’re using version 1.6.13 —<br />
download the latest from arduino.cc/<br />
download). Then, from the menu,<br />
select File > Preferences and in the<br />
textbox next to ‘Additional Boards<br />
Manager URLs’, add in:<br />
http://arduino.esp8266.com/<br />
stable/package_esp8266com_<br />
index.json<br />
If you already have URLs in that<br />
textbox, just add a comma (,) on the end,<br />
followed by the above URL. Click the OK<br />
button when you’re done.<br />
IMPORT ESP8266 BOARD DETAILS<br />
That tells the Arduino IDE where to get<br />
the latest ESP8266 board details; now<br />
we have to go get ‘em. Again from the<br />
menu, select Tools, come down to ‘Board:<br />
xxxxx’ (where ‘xxxxx’ will be some<br />
The NodeMCU board<br />
fits into a small<br />
400-point breadboard.<br />
The NodeMCU<br />
development board sells<br />
for around $5 on eBay.<br />
104 www.apcmag.com


