


You also want an ePaper? Increase the reach of your titles
YUMPU automatically turns print PDFs into web optimized ePapers that Google loves.
howto » pc builder masterclass<br />
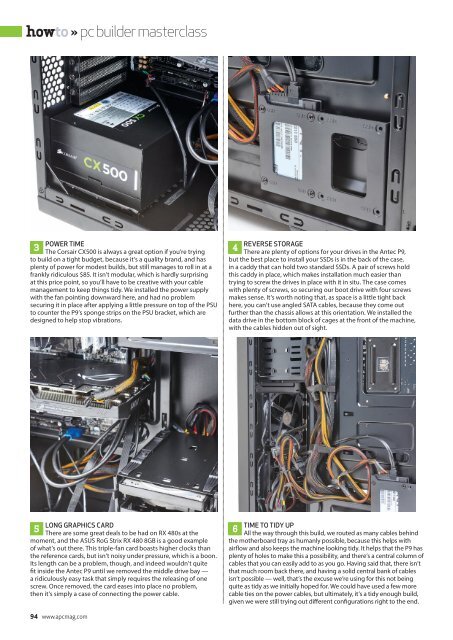
POWER TIME<br />
3<br />
The Corsair CX500 is always a great option if you’re trying<br />
to build on a tight budget, because it’s a quality brand, and has<br />
plenty of power for modest builds, but still manages to roll in at a<br />
frankly ridiculous $85. It isn’t modular, which is hardly surprising<br />
at this price point, so you’ll have to be creative with your cable<br />
management to keep things tidy. We installed the power supply<br />
with the fan pointing downward here, and had no problem<br />
securing it in place after applying a little pressure on top of the PSU<br />
to counter the P9’s sponge strips on the PSU bracket, which are<br />
designed to help stop vibrations.<br />
REVERSE STORAGE<br />
4<br />
There are plenty of options for your drives in the Antec P9,<br />
but the best place to install your SSDs is in the back of the case,<br />
in a caddy that can hold two standard SSDs. A pair of screws hold<br />
this caddy in place, which makes installation much easier than<br />
trying to screw the drives in place with it in situ. The case comes<br />
with plenty of screws, so securing our boot drive with four screws<br />
makes sense. It’s worth noting that, as space is a little tight back<br />
here, you can’t use angled SATA cables, because they come out<br />
further than the chassis allows at this orientation. We installed the<br />
data drive in the bottom block of cages at the front of the machine,<br />
with the cables hidden out of sight.<br />
LONG GRAPHICS CARD<br />
5<br />
There are some great deals to be had on RX 480s at the<br />
moment, and the ASUS RoG Strix RX 480 8GB is a good example<br />
of what’s out there. This triple-fan card boasts higher clocks than<br />
the reference cards, but isn’t noisy under pressure, which is a boon.<br />
Its length can be a problem, though, and indeed wouldn’t quite<br />
fit inside the Antec P9 until we removed the middle drive bay —<br />
a ridiculously easy task that simply requires the releasing of one<br />
screw. Once removed, the card eases into place no problem,<br />
then it’s simply a case of connecting the power cable.<br />
TIME TO TIDY UP<br />
6<br />
All the way through this build, we routed as many cables behind<br />
the motherboard tray as humanly possible, because this helps with<br />
airflow and also keeps the machine looking tidy. It helps that the P9 has<br />
plenty of holes to make this a possibility, and there’s a central column of<br />
cables that you can easily add to as you go. Having said that, there isn’t<br />
that much room back there, and having a solid central bank of cables<br />
isn’t possible — well, that’s the excuse we’re using for this not being<br />
quite as tidy as we initially hoped for. We could have used a few more<br />
cable ties on the power cables, but ultimately, it’s a tidy enough build,<br />
given we were still trying out different configurations right to the end.<br />
94 www.apcmag.com


