

Brother XL-6053/6063 - Guide utilisateur
Brother XL-6053/6063 - Guide utilisateur
Brother XL-6053/6063 - Guide utilisateur

Create successful ePaper yourself
Turn your PDF publications into a flip-book with our unique Google optimized e-Paper software.
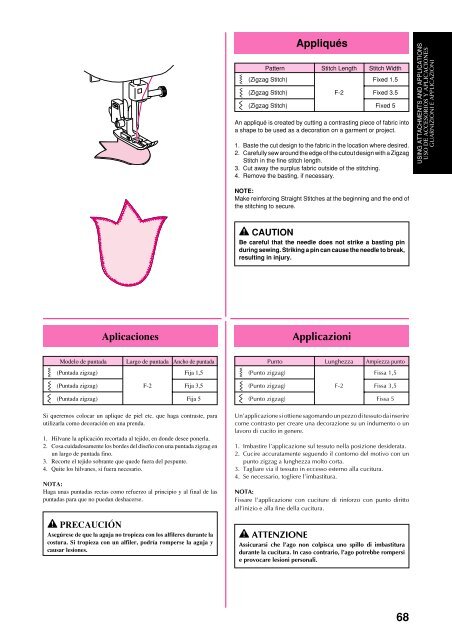
Appliqués<br />
Pattern Stitch Length Stitch Width<br />
(Zigzag Stitch) Fixed 1.5<br />
(Zigzag Stitch) F-2 Fixed 3.5<br />
(Zigzag Stitch) Fixed 5<br />
An appliqué is created by cutting a contrasting piece of fabric into<br />
a shape to be used as a decoration on a garment or project.<br />
1. Baste the cut design to the fabric in the location where desired.<br />
2. Carefully sew around the edge of the cutout design with a Zigzag<br />
Stitch in the fine stitch length.<br />
3. Cut away the surplus fabric outside of the stitching.<br />
4. Remove the basting, if necessary.<br />
USING ATTACHMENTS AND APPLICATIONS<br />
USO DE ACCESORIOS Y APLICACIONES<br />
GUARNIZIONI E APPLICAZIONI<br />
NOTE:<br />
Make reinforcing Straight Stitches at the beginning and the end of<br />
the stitching to secure.<br />
CAUTION<br />
Be careful that the needle does not strike a basting pin<br />
during sewing. Striking a pin can cause the needle to break,<br />
resulting in injury.<br />
Aplicaciones<br />
Applicazioni<br />
Modelo de puntada<br />
Largo de puntada Ancho de puntada<br />
(Puntada zigzag) Fija 1,5<br />
(Puntada zigzag) F-2 Fija 3,5<br />
(Puntada zigzag) Fija 5<br />
Si queremos colocar un aplique de piel etc. que haga contraste, para<br />
utilizarla como decoración en una prenda.<br />
1. Hilvane la aplicación recortada al tejido, en donde desee ponerla.<br />
2. Cosa cuidadosamente los bordes del diseño con una puntada zigzag en<br />
un largo de puntada fino.<br />
3. Recorte el tejido sobrante que quede fuera del pespunte.<br />
4. Quite los hilvanes, si fuera necesario.<br />
NOTA:<br />
Haga unas puntadas rectas como refuerzo al principio y al final de las<br />
puntadas para que no puedan deshacerse.<br />
PRECAUCIÓN<br />
Asegúrese de que la aguja no tropieza con los alfileres durante la<br />
costura. Si tropieza con un alfiler, podría romperse la aguja y<br />
causar lesiones.<br />
Punto Lunghezza Ampiezza punto<br />
(Punto zigzag) Fissa 1,5<br />
(Punto zigzag) F-2 Fissa 3,5<br />
(Punto zigzag) Fissa 5<br />
Un’applicazione si ottiene sagomando un pezzo di tessuto da inserire<br />
come contrasto per creare una decorazione su un indumento o un<br />
lavoro di cucito in genere.<br />
1. Imbastire l’applicazione sul tessuto nella posizione desiderata.<br />
2. Cucire accuratamente seguendo il contorno del motivo con un<br />
punto zigzag a lunghezza molto corta.<br />
3. Tagliare via il tessuto in eccesso esterno alla cucitura.<br />
4. Se necessario, togliere l’imbastitura.<br />
NOTA:<br />
Fissare l’applicazione con cuciture di rinforzo con punto diritto<br />
all’inizio e alla fine della cucitura.<br />
ATTENZIONE<br />
Assicurarsi che l’ago non colpisca uno spillo di imbastitura<br />
durante la cucitura. In caso contrario, l’ago potrebbe rompersi<br />
e provocare lesioni personali.<br />
68


