Quark to InDesignCS3 Conversion Guide - InDesign User Group
Quark to InDesignCS3 Conversion Guide - InDesign User Group
Quark to InDesignCS3 Conversion Guide - InDesign User Group

You also want an ePaper? Increase the reach of your titles
YUMPU automatically turns print PDFs into web optimized ePapers that Google loves.
exporting a document as PDF,<br />
choose No Color <strong>Conversion</strong> from<br />
the Color <strong>Conversion</strong> menu in the<br />
Output pane during export. To leave<br />
color unchanged when exporting a<br />
document as EPS, choose Leave<br />
Unchanged from the Color menu<br />
in the General pane during export.<br />
You can use the Preflight command<br />
(File menu) <strong>to</strong> determine the color<br />
spaces used by placed graphics in a<br />
document. The Links And Images<br />
pane of the Preflight dialog box lists<br />
all placed graphics, and includes<br />
information about the color space<br />
used for each one.<br />
Scale width or height (Setup pane).<br />
To fit an oversized document on a<br />
smaller piece of paper, you can scale<br />
the document’s width and height,<br />
either symmetrically or asymmetrically.<br />
Asymmetric scaling is useful<br />
when, for example, you’re printing<br />
film for use on a flexographic press<br />
<strong>to</strong> compensate for the dis<strong>to</strong>rtion<br />
inherent in flexographic printing.<br />
You can specify scale values from<br />
1% <strong>to</strong> 1,000%.<br />
Print guides, grids, and other nonprinting<br />
objects (General pane). By<br />
default, guides, grids, and objects<br />
specified as nonprinting in the Attributes<br />
pane (Window > Attributes) do<br />
not print. You can, however, choose<br />
<strong>to</strong> print grids, guides, and other nonprinting<br />
objects.<br />
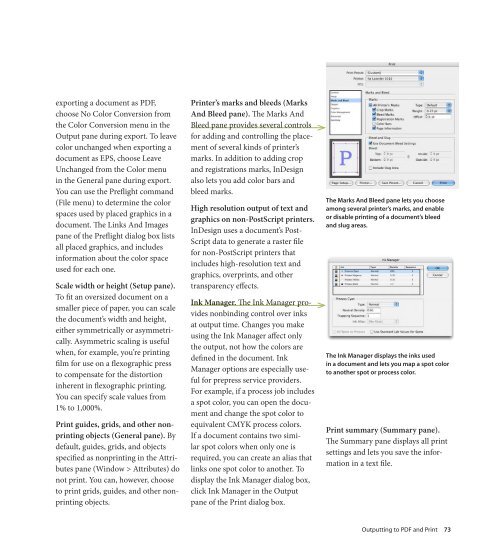
Printer’s marks and bleeds (Marks<br />
And Bleed pane). The Marks And<br />
Bleed pane provides several controls<br />
for adding and controlling the placement<br />
of several kinds of printer’s<br />
marks. In addition <strong>to</strong> adding crop<br />
and registrations marks, <strong>InDesign</strong><br />
also lets you add color bars and<br />
bleed marks.<br />
High resolution output of text and<br />
graphics on non-PostScript printers.<br />
<strong>InDesign</strong> uses a document’s Post-<br />
Script data <strong>to</strong> generate a raster file<br />
for non-PostScript printers that<br />
includes high-resolution text and<br />
graphics, overprints, and other<br />
transparency effects.<br />
Ink Manager. The Ink Manager provides<br />
nonbinding control over inks<br />
at output time. Changes you make<br />
using the Ink Manager affect only<br />
the output, not how the colors are<br />
defined in the document. Ink<br />
Manager options are especially useful<br />
for prepress service providers.<br />
For example, if a process job includes<br />
a spot color, you can open the document<br />
and change the spot color <strong>to</strong><br />
equivalent CMYK process colors.<br />
If a document contains two similar<br />
spot colors when only one is<br />
required, you can create an alias that<br />
links one spot color <strong>to</strong> another. To<br />
display the Ink Manager dialog box,<br />
click Ink Manager in the Output<br />
pane of the Print dialog box.<br />
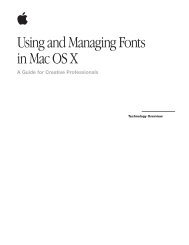
the marks And Bleed pane lets you choose<br />
among several printer’s marks, and enable<br />
or disable printing of a document’s bleed<br />
and slug areas.<br />
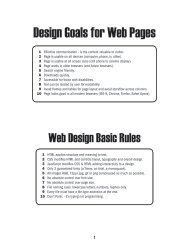
the Ink manager displays the inks used<br />
in a document and lets you map a spot color<br />
<strong>to</strong> another spot or process color.<br />
Print summary (Summary pane).<br />
The Summary pane displays all print<br />
settings and lets you save the information<br />
in a text file.<br />
Outputting <strong>to</strong> PDF and Print 73