

5800 Refrigerated Sampler Service Guide - Isco
5800 Refrigerated Sampler Service Guide - Isco
5800 Refrigerated Sampler Service Guide - Isco

Create successful ePaper yourself
Turn your PDF publications into a flip-book with our unique Google optimized e-Paper software.
<strong>5800</strong> <strong>Refrigerated</strong> <strong>Sampler</strong> <strong>Service</strong> <strong>Guide</strong><br />
Section 3 Refrigeration System<br />
3.3.1 Temperature Sensor<br />
Cable Assembly<br />
Kit #69-5804-054<br />
Required Parts and Tools<br />
Before accessing the temperature cable for replacement, ensure<br />
that all safety practices described in Section 1.6 are followed.<br />
• Replacement cable assembly kit<br />
• #2 Phillips screwdriver<br />
• #3 Phillips screwdriver<br />
• Wire cutters<br />
• 15 /16" open wrench<br />
Accessing the Temperature<br />
Cable<br />
• Clear silicone sealant<br />
To begin removal/replacement of the cable, you must access the<br />
interior and remove the refrigeration module by following the<br />
instructions provided in Section 1.7 Accessing the Rear Components.<br />
Then:<br />
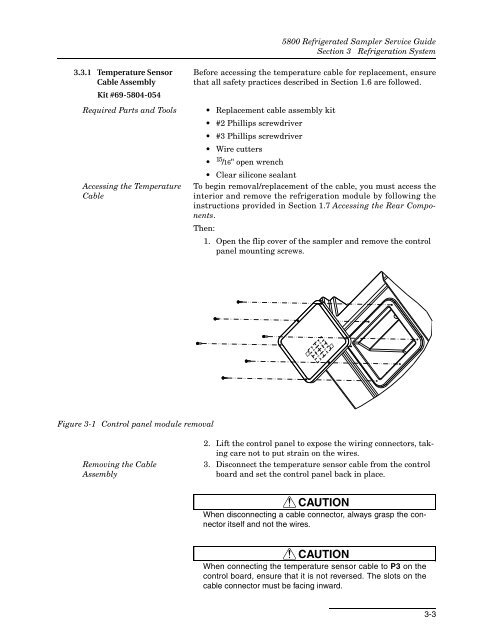
1. Open the flip cover of the sampler and remove the control<br />
panel mounting screws.<br />
Figure 3-1 Control panel module removal<br />
Removing the Cable<br />
Assembly<br />
2. Lift the control panel to expose the wiring connectors, taking<br />
care not to put strain on the wires.<br />
3. Disconnect the temperature sensor cable from the control<br />
board and set the control panel back in place.<br />
CAUTION<br />
When disconnecting a cable connector, always grasp the connector<br />
itself and not the wires.<br />
CAUTION<br />
When connecting the temperature sensor cable to P3 on the<br />
control board, ensure that it is not reversed. The slots on the<br />
cable connector must be facing inward.<br />
3-3


