

5800 Refrigerated Sampler Service Guide - Isco
5800 Refrigerated Sampler Service Guide - Isco
5800 Refrigerated Sampler Service Guide - Isco

You also want an ePaper? Increase the reach of your titles
YUMPU automatically turns print PDFs into web optimized ePapers that Google loves.
<strong>5800</strong> <strong>Refrigerated</strong> <strong>Sampler</strong> <strong>Service</strong> <strong>Guide</strong><br />
Section 3 Refrigeration System<br />
9. Connect the wires to the compressor and replace the cover.<br />
CAUTION<br />
Earth ground bonding conductor. Ensure that the green/yellow<br />
wire is reconnected to this terminal.<br />
10. Route the AC power cord through the refrigeration module.<br />
Secure it in place with the bushing (Figure 3-18).<br />
11. 230V/50 Hz Systems Only — Attach the 230V plug adapter<br />
to the end of the power cord. Slide the piece of plastic heat<br />
shrink tubing over the plugs. Then apply a heat source of<br />
at least 80°C (176°F) to shrink the tubing.<br />
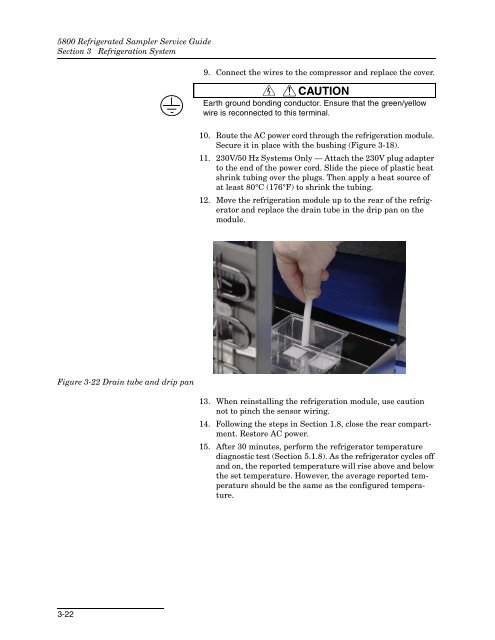
12. Move the refrigeration module up to the rear of the refrigerator<br />
and replace the drain tube in the drip pan on the<br />
module.<br />
Figure 3-22 Drain tube and drip pan<br />
13. When reinstalling the refrigeration module, use caution<br />
not to pinch the sensor wiring.<br />
14. Following the steps in Section 1.8, close the rear compartment.<br />
Restore AC power.<br />
15. After 30 minutes, perform the refrigerator temperature<br />
diagnostic test (Section 5.1.8). As the refrigerator cycles off<br />
and on, the reported temperature will rise above and below<br />
the set temperature. However, the average reported temperature<br />
should be the same as the configured temperature.<br />
3-22


