NPL-352 Manual-09.pdf
NPL-352 Manual-09.pdf
NPL-352 Manual-09.pdf

You also want an ePaper? Increase the reach of your titles
YUMPU automatically turns print PDFs into web optimized ePapers that Google loves.
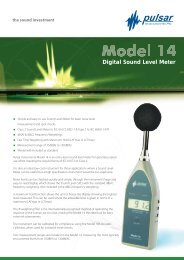
4 Applications<br />
You can enter any combination of taped offset<br />
distances to specify the point.<br />
4. To go to the recording PT screen, press [ENT] in<br />
the last field.<br />
The calculated coordinates are shown.<br />
5. Enter a PT (and CD) value.<br />
6. Press [ENT] to record the point.<br />
Raw data is also recalculated, based on the<br />
taped offset value.<br />
Measuring angle offsets 40.1<br />
1. To enter the angle offset function, press [2] or<br />
select Angle in the Offset menu.<br />
If you have not taken a distance measurement<br />
before entering this function, a temporary<br />
measurement screen appears.<br />
2. Sight the target and press [MSR1] or [MSR2].<br />
3. To take the angle offset, rotate the alidade and<br />
telescope. The measured distance (HD)<br />
remains unchanged.<br />
4. To record the offset point, press [ENT] or the OK<br />
softkey.<br />
The XYZ data is also recalculated, based on<br />
the new angle.<br />
You can record an angle offset in the Basic Measurement Screen (BMS). After<br />
taking a distance measurement, rotate the alidade and/or telescope. Then press<br />
[ENT] to record the measured distance with the updated angle value. If you use this<br />
method, the dimension of the angle offset is not stored as a CO record. To store the<br />
CO record, use the O/S function.<br />
106 Pulse Laser Station <strong>NPL</strong>-302 Series Instruction <strong>Manual</strong>