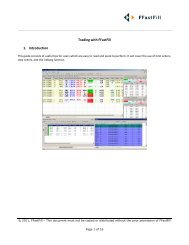
Download User Guide - Berkeley Futures Limited
Download User Guide - Berkeley Futures Limited
Download User Guide - Berkeley Futures Limited

Create successful ePaper yourself
Turn your PDF publications into a flip-book with our unique Google optimized e-Paper software.
J-Trader Tools<br />
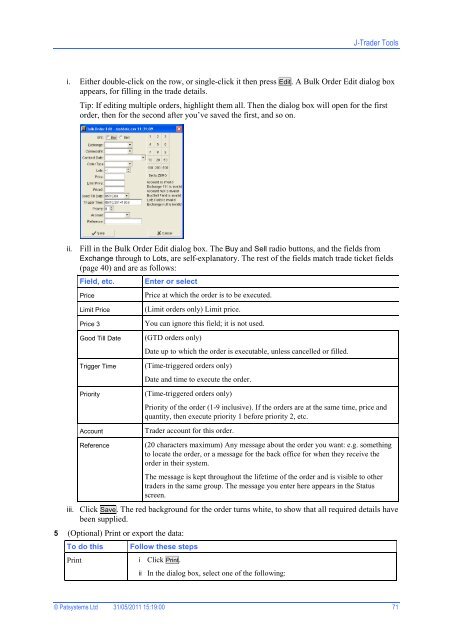
i. Either double-click on the row, or single-click it then press Edit. A Bulk Order Edit dialog box<br />
appears, for filling in the trade details.<br />
Tip: If editing multiple orders, highlight them all. Then the dialog box will open for the first<br />
order, then for the second after you’ve saved the first, and so on.<br />
ii. Fill in the Bulk Order Edit dialog box. The Buy and Sell radio buttons, and the fields from<br />
Exchange through to Lots, are self-explanatory. The rest of the fields match trade ticket fields<br />
(page 40) and are as follows:<br />
Field, etc.<br />
Price<br />
Limit Price<br />
Price 3<br />
Good Till Date<br />
Trigger Time<br />
Priority<br />
Account<br />
Reference<br />
Enter or select<br />
Price at which the order is to be executed.<br />
(Limit orders only) Limit price.<br />
You can ignore this field; it is not used.<br />
(GTD orders only)<br />
Date up to which the order is executable, unless cancelled or filled.<br />
(Time-triggered orders only)<br />
Date and time to execute the order.<br />
(Time-triggered orders only)<br />
Priority of the order (1-9 inclusive). If the orders are at the same time, price and<br />
quantity, then execute priority 1 before priority 2, etc.<br />
Trader account for this order.<br />
(20 characters maximum) Any message about the order you want: e.g. something<br />
to locate the order, or a message for the back office for when they receive the<br />
order in their system.<br />
The message is kept throughout the lifetime of the order and is visible to other<br />
traders in the same group. The message you enter here appears in the Status<br />
screen.<br />
iii. Click Save. The red background for the order turns white, to show that all required details have<br />
been supplied.<br />
5 (Optional) Print or export the data:<br />
To do this<br />
Print<br />
Follow these steps<br />
i Click Print.<br />
ii In the dialog box, select one of the following:<br />
© Patsystems Ltd 31/05/2011 15:19:00 71